Introduction
This campaign is designed for a party of 3-5 adventurers of 1st level. It takes place after the events of “The Rise of Skywalker”, and is primarily designed for players of the Consular, Sentinel or Guardian classes. Other classes can be used, but would not be the primary storytelling focus.
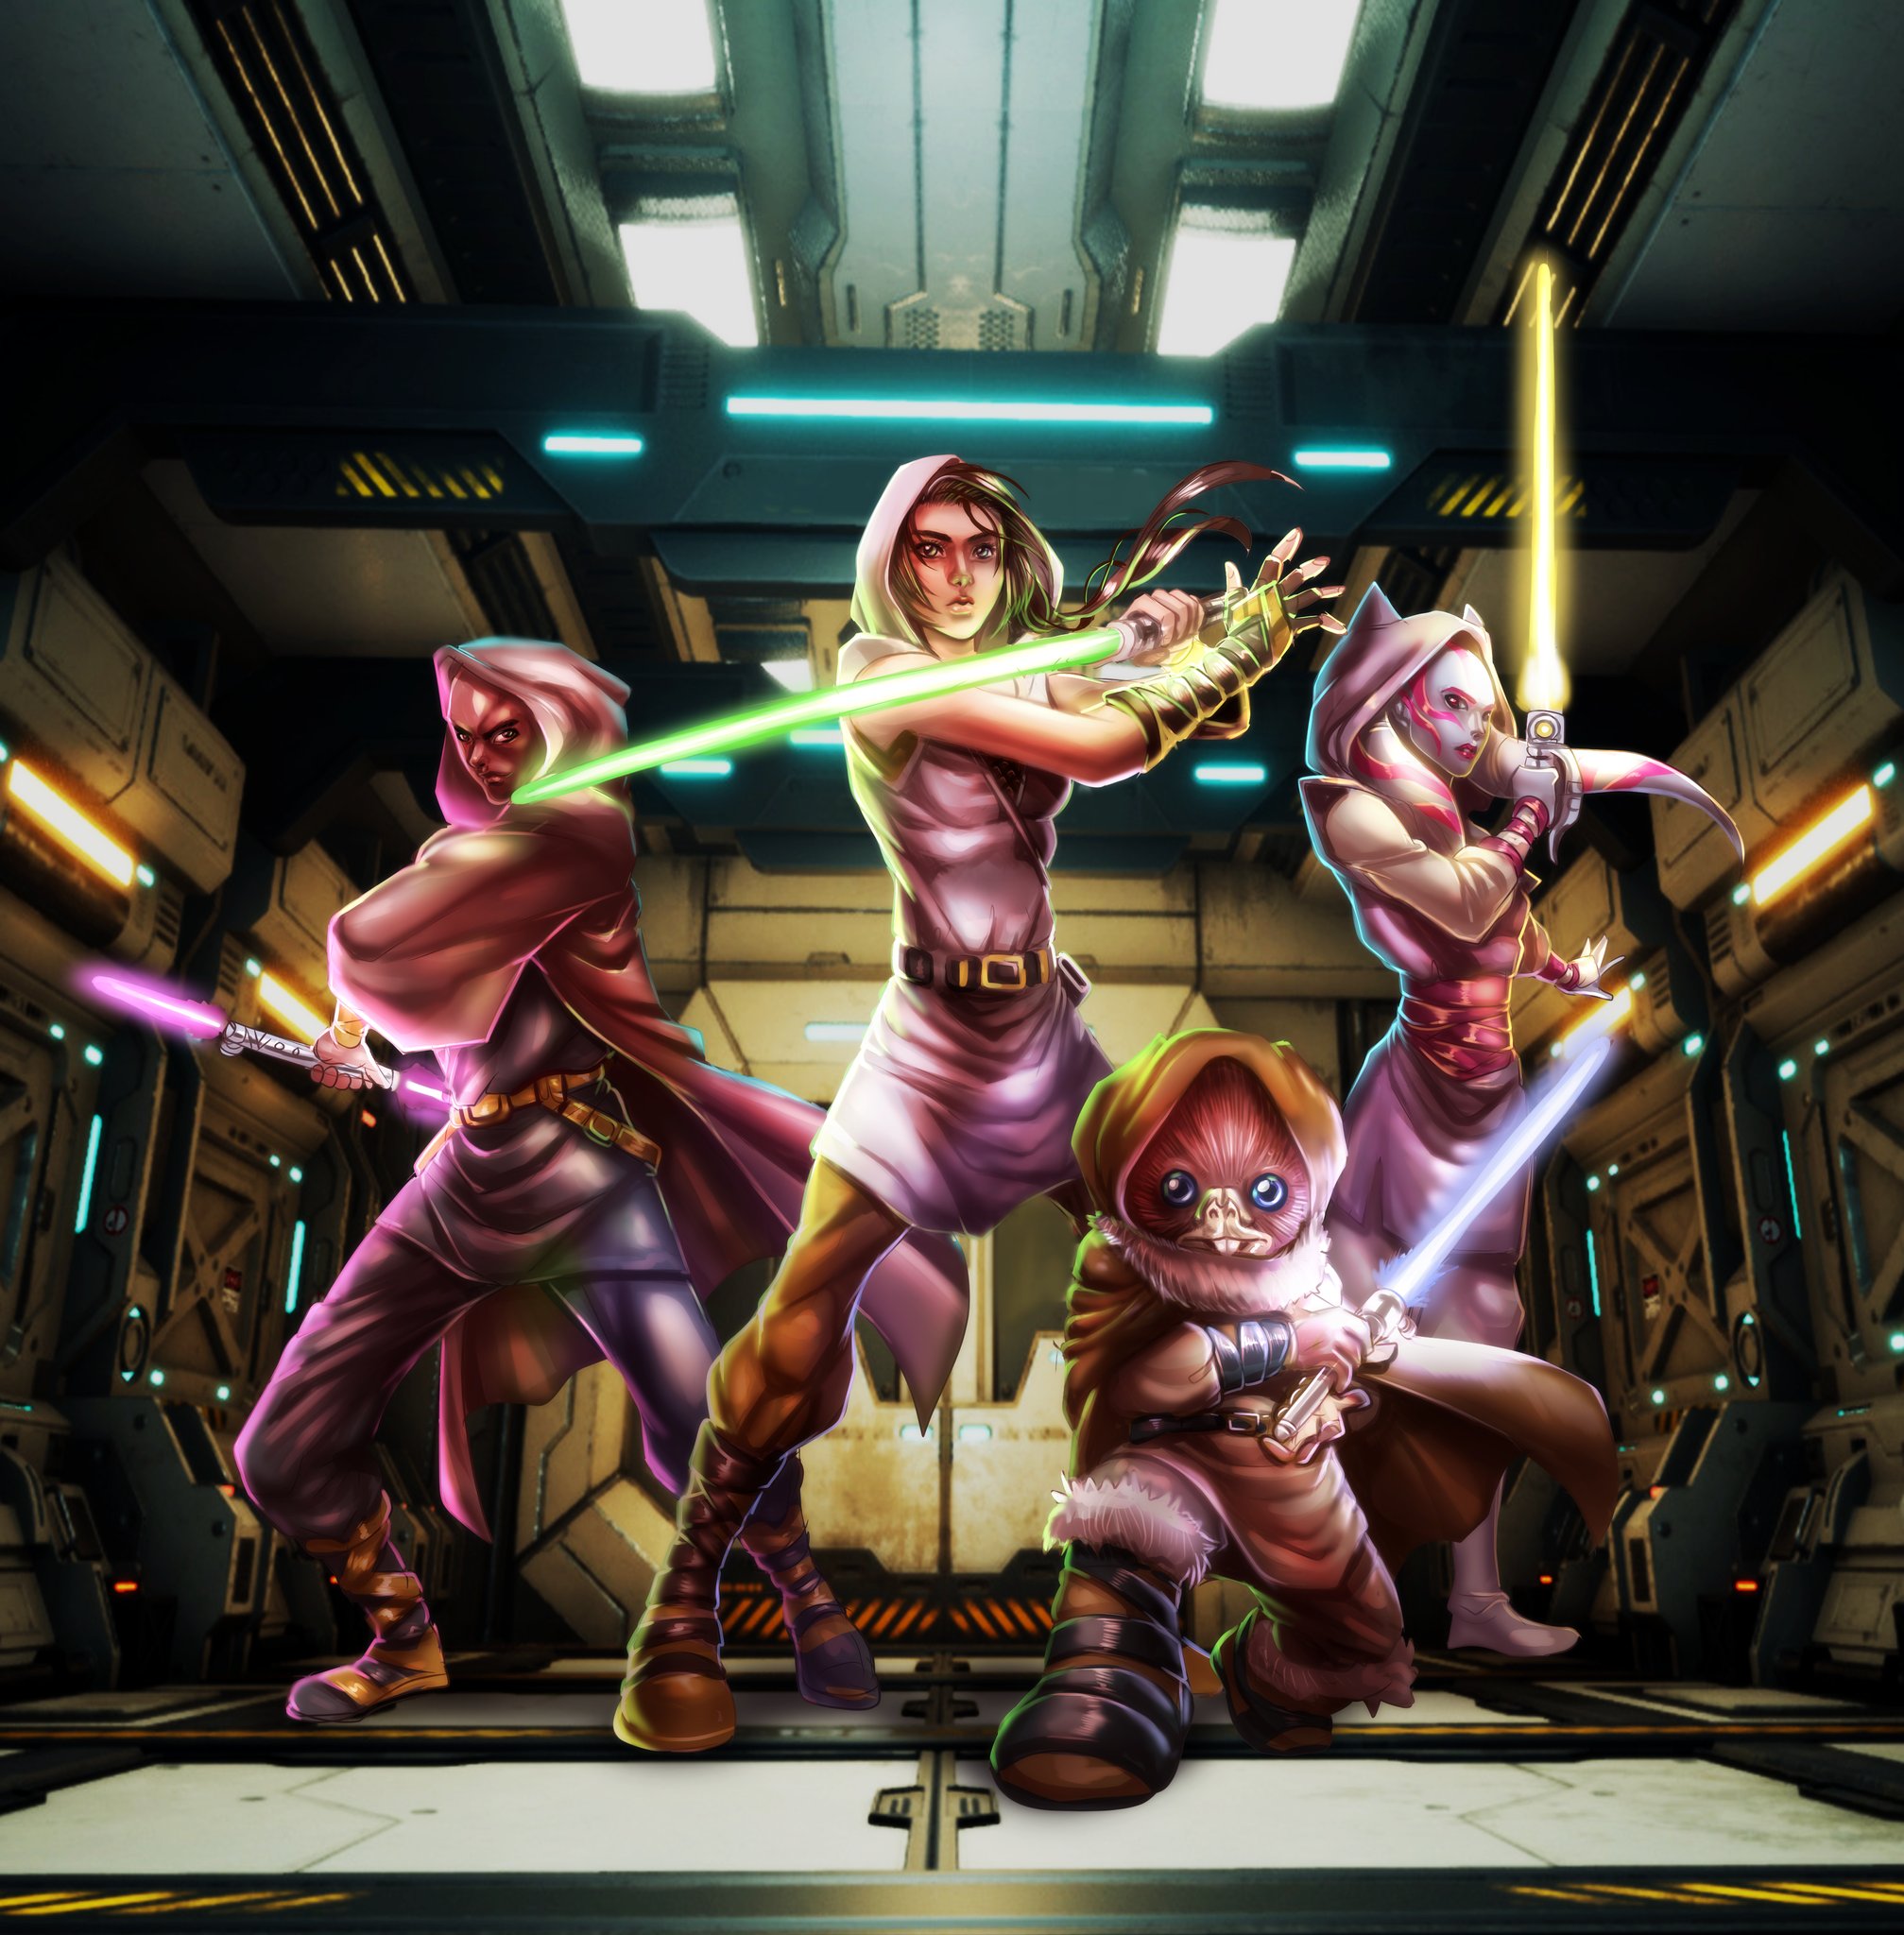
In this story-driven adventure, the player characters have been recruited as potential Force users and will have an opportunity to shape the destiny of the Jedi in the recovering Republic.
Credits
Story, layout: RogueEnterprise
Editing: AaronH
Images: Google search, property of their original creators
Creators of SW5e and Wizards of the Coast
Background
After the victory at the Battle of Exegol, Rey has solidified herself as the embodiment of the resurgent Jedi. While she has taken the Skywalker name and constructed her own lightsaber, some in the Republic have pressed her to take on new Jedi recruits in an effort to assist the rebuilding process and allow the reclamation of the Jedi Order’s former legacy. Rey, Uncertain about training a new generation of Jedi, must put aside her misgivings as the first group of learners arrive.
Setup
Lightweapon Enhanced Items: Characters will acquire Enhanced Item lightweapons during the campaign, as outlined in the SW5e sourcebook Wretched Hives. The slots include Cell, Lens, Hilt and Crystal. These will function as described in the sourcebook, with one exception: Lightweapon enhanced items require an enhanced Crystal in order to function. Crystals and other Enhanced Item Lightweapons will be encountered throughout the campaign.
Modifying Lightweapon Chassis: Characters of Force sensitive classes can use their Forcecasting Ability Modifier + Proficiency Bonus instead of Tinkers Tools to modify Lightweapon chassis. Lightweapon Chassis modifications can be tracked with an extra supplement that every player can use in combination with their character sheet, located here:
Lightweapon Crystals: This campaign combines color crystals and power crystals into a single Enhanced Item. Lightweapons only support this one combined crystal.
Non-Force characters: The campaign is primarily designed with Force users/Jedi in mind. Other characters can work but the campaign is targeting future Jedi.
Light alignment: Because this campaign is about becoming a Jedi, characters of Light alignment are best, or have a plausible reason to seek out Rey for training.
Campaign Outline
Part 1
Characters join Rey Skywalker's group of trainees and embark on their first mission, completing construction of their lightweapon and explore the ruins of a Star Destroyer at Exegol.
Part II-V
Coming soon!
v1.14, 19-Sep-2022

PART I
The Resurgence of the Jedi

Opening crawl
Instability abounds! A year has elapsed since the galaxy banded together to defeat the Sith at EXEGOL, but what remains of the GALACTIC REPUBLIC has been scrambling to restore order.
With a lack of both government and military, Republic advisors are pressuring REY SKYWALKER, the last Jedi, to assist them in vital tasks that would ease a transition back to democracy for all.
Meanwhile, on the Core World of CHANDRILA, a group of recruits from all over the galaxy have gathered, and will determine the fate of the Force....
Chapter 1: Chandrila
Characters start on Chandrila, the temporary new home of the Republic after the destruction of the Hosnian system. Characters could have arrived by any number of means - consult the table for suggestions.
Over the last few months, Rey has been helping the group through some rudimentary training. While she’s clearly not the naive scavenger of a few years ago, she hasn’t entirely settled into her role as a teacher. While happy to teach introductory Force skills, she has been reluctant to take new recruits or send any of you on risky assignments.
Lightsaber Construction
Each character training under Rey has had the opportunity to start constructing their own lightsaber. Although Rey hasn’t given any indication where she obtained a kyber crystal to power her own weapon, she’s given the group basic instruction on lightsaber construction and over time, each character has been able to construct one Lightweapon Chassis, in addition to their default weapon. See the First Lightsaber Options section for details. Over time, and with guidance from Rey, the group has been able to search for more advanced components, even though the lack of a crystal remains obvious.
First Lightsaber Options
Each lightweapon chassis contains a slot for a Power Cell, a Hilt, a Lens and a Crystal. Rey has recognized the characters’ interest and need for the iconic weapon and has been working on better acquisition of chassis, but has not yet made them available.
Until a crystal is found, the chassis are not functional lightweapons.
For the time being, the characters can select from an initial list of lightweapon chassis options:
- Simple Lightsaber chassis
- Martial Lightsaber chassis
- Shotosaber chassis
 Temporary New Republic capital world of Chandrila
Recruitment Reason
| d6 | Reason |
|---|---|
| 1 | Sought out Rey on your own based on your Force sensitivity |
| 2 | Discovered by Republic or local security forces and encouraged to join |
| 3 | Incarcerated by Republic or allied forces and conditionally released to join |
| 4 | Familial/social pressure to join based on your Force sensitivity |
| 5 | You are a child of a long dead Jedi in exile |
| 6 | You are a Force user who was freed from the First Order by the Resistance |
The characters can make individual checks to represent their search for more advanced lightsaber components during their training on Chandrila. Characters may track down leads for components (Investigation), attempt to spot items in junk trader shops (Perception), or attempt to convince a local noble to give up an item from their personal collection (Persuasion).
For every result over 13, roll once on the Components Search Table. These items are automatically identified and may be installed into a lightweapon chassis without the need for a check.
Components Search Table
| D10 Result | Item | Type | Rarity | Benefit |
|---|---|---|---|---|
| 1 | Biometric Safety Measures | Power Cell | Standard | When a creature other than you attempts to activate your lightweapon, the activation fails. Additionally, the creature attempting to activate must make a Constitution saving throw. On fail, a creature drops the weapon, takes 1d10 lightning damage and is shocked until the end of its next turn. On a successful save the creature takes half damage and isn’t shocked. |
| 2 | Burning Cell | Power Cell | Standard | When you score a critical hit with this weapon, you have advantage on the next attack roll you make against that creature before the end of your next turn. |
| 3 | Collapsible Hilt | Hilt | Standard | This weapon gains the hidden property. |
| 4 | Magnetic-Lock Grip | Hilt | Standard | While wielding this weapon, you have advantage on ability checks and saving throws made to disarm or avoid being disarmed. |
| 5 | Ossus Training Lens | Lens | Standard | You gain a +1 bonus to attack rolls and a -1 penalty to damage rolls made with this weapon. |
| 6 | Basic Returning Weapon Hilt | Hilt | Standard | This weapon gains the returning and thrown (10/30) properties. If it already has the thrown property, the range increases by 5/15. |
| 7 | Disarming Cell | Power Cell | Standard | This weapon gains the disarming property. |
| 8 | Disguised Hilt | Hilt | Standard | This weapon gains the disguised property. |
| 9 | Gloom Cell | Power Cell | Standard | This weapon loses the luminous property. |
| 10 | Stabilizer Training Cell | Power Cell | Standard | This weapon’s dexterity number is reduced by one step (from 19 to 17, 17 to 15, 15 to 13, or 13 to 11). If the dexterity number is 11, this modification removes the dexterity property from it entirely. |
First Mission
After many arduous months of training, Rey calls the recruits to a meeting. She explains that she finally has a mission for the group: she has sensed a disturbance in the Force at Exegol, the Sith planet where the Citizen’s Fleet defeated the Final Order and the resurrected Emperor. The recruits are to assist in the securing of one of the still-mostly-intact Xyston-class Star Destroyers that are being salvaged by the Republic. Even a year later, the sheer volume of ships and debris means that there is still significant activity at Exegol.
She explains that she’s contracted with the Republic to provide passage via an old I-TS transport ship to stay under the radar, since it might not be the best idea to advertise being Jedi.
Once the characters are ready to leave, it is a simple matter of traveling to the nearby spaceport and boarding the transport. The ship is the Tireless, an old I-TS class transport ship with faded Resistance markings that’s an aging but reliable craft. The pilot (and mechanic on the side) is a no-nonsense Zabrak in his 30s named Brostix.
Brostix is a veteran of the Resistance - and while what remains of the Resistance is supposed to be absorbed into the rebuilding Republic military, he “owes Rey a favor” (though he is reluctant to submit to the bureaucracy of the Republic military) and is eager to get underway to Exegol.
Roleplaying Rey
Rey is friendly and helpful but can also appear reserved when it comes to training the group. She will not lie, but instead deflect any questions about this mission being related to their Jedi training, but a DC15 Insight check will reveal that she does view this as the next step. She projects confidence and faith in the party but is also nervous about success. She knows that there are occasional reports of surviving Final Order troopers and automated defenses in some of these ships, but will also warn that Exegol in general is strong in the dark side of the Force.
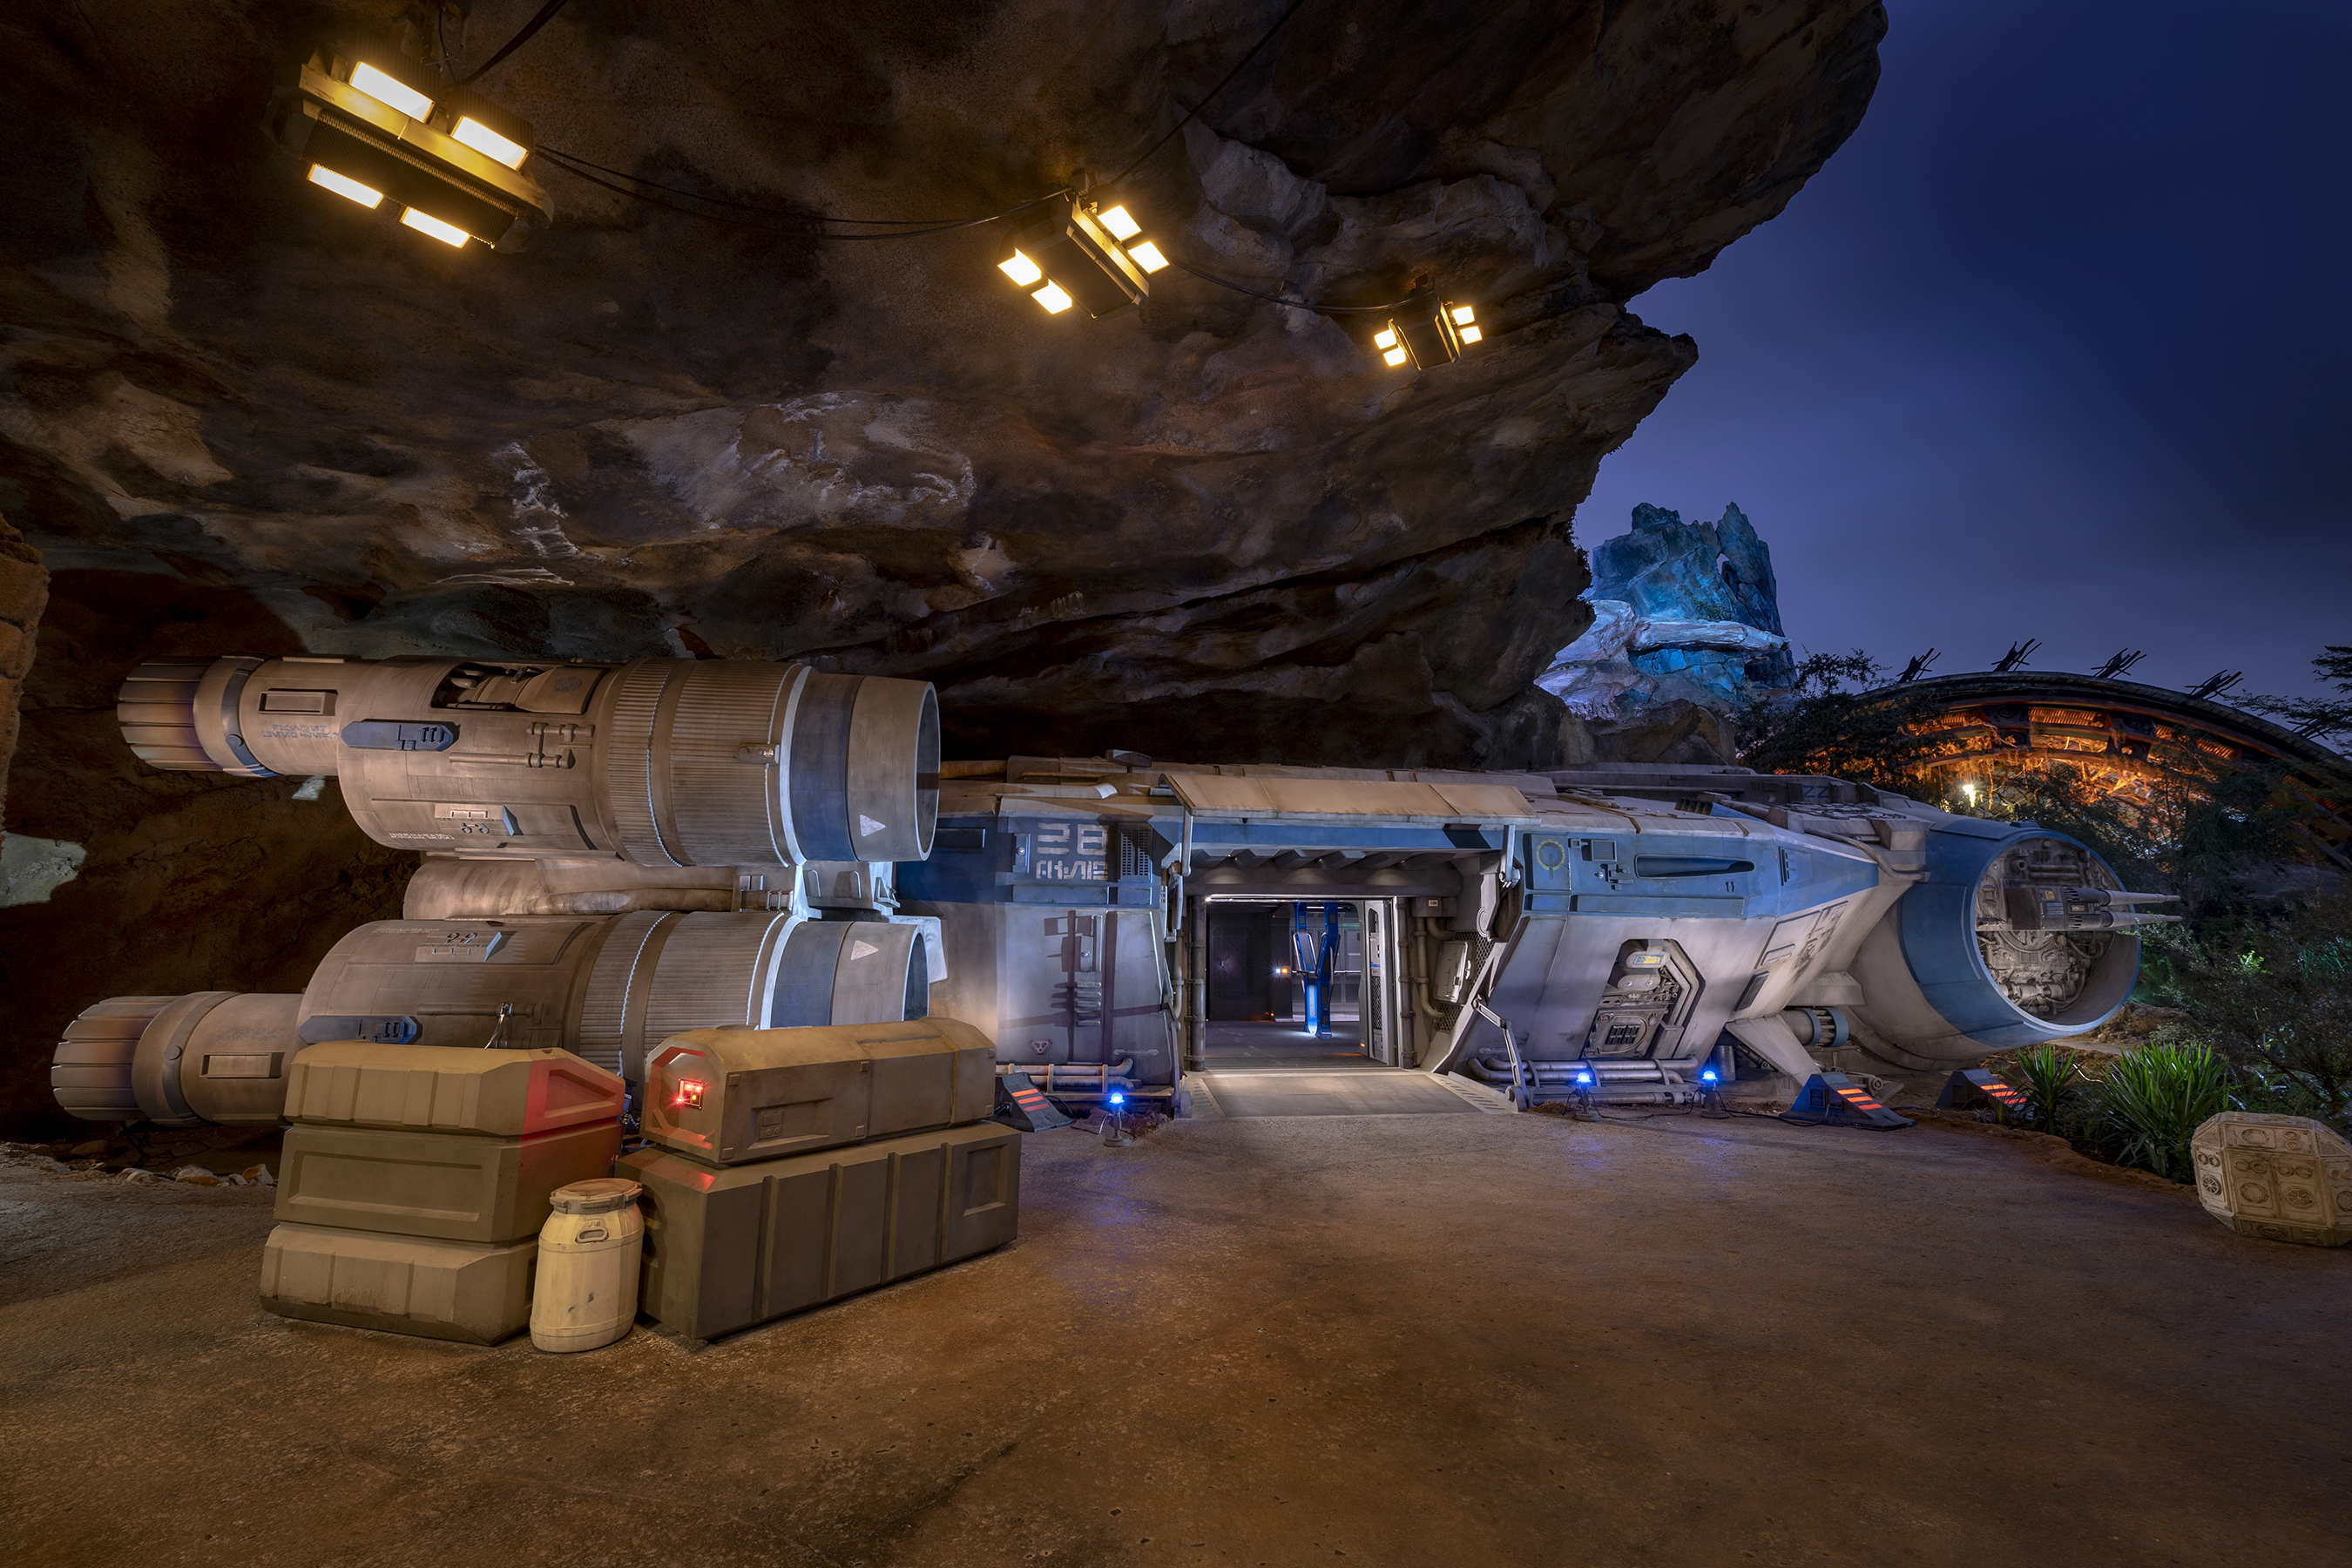 The Tireless, a Resistance I-TS class transport
Chapter 2: Exegol
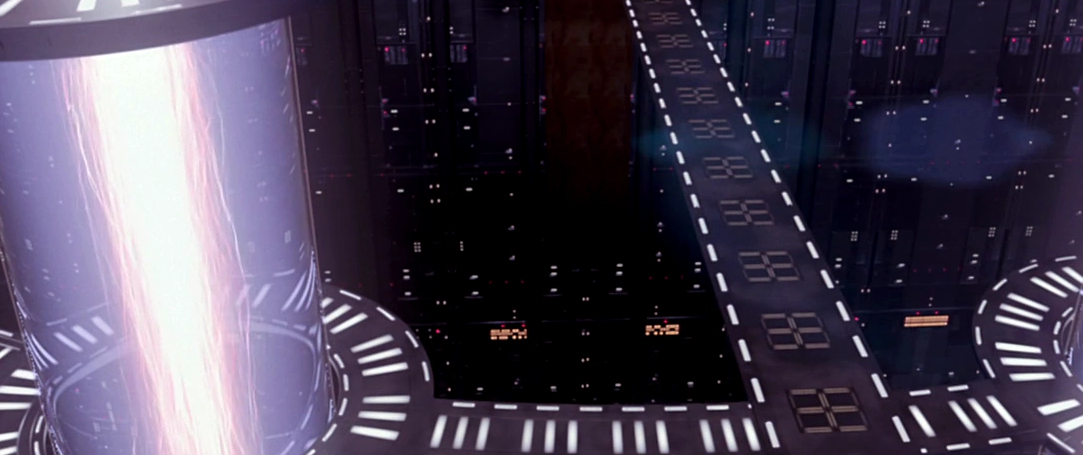
After a few days in hyperspace, Brostix is able to navigate through the Unknown regions and arrives at Exegol via recently installed hyperspace beacons. The entire region is a jumble of debris, only some of which is recognizable as other pieces of ships. It becomes clear that the Tireless is heading towards one of the more intact Xyston-class Star Destroyer hulks. This particular vessel is unusual in that its superlaser appears to be encased in solid armor coverings. The Tireless maneuvers and docks with one of the nondescript airlocks that adorn the dorsal side of the ship.
As soon as the ship docks, all Force sensitive characters can hear a strange calling, though it has no voice, drawing their attention somewhere deep inside the hulk. Non-Force sensitives and the maintenance crew don’t seem to be hearing it.
Exiting the airlock, the characters enter into a small staging area, where a handful of Republic engineers are setting up. The leader of the group, a Mon Calamari lieutenant by the name of Ershro, welcomes the group of recruits while Brostix stays with the Tireless.
Ershro and his team are assembling heavy duty construction equipment just inside the airlock and have restored emergency backup power but not much else. He explains that their priority is to dismantle the superlaser, but there are usually mechanical safeguards to prevent a straightforward deactivation.
He asks the characters to secure some key locations, and uploads a schematic to the characters’ datapads, and offers to make a payment of 500cr per character if all of the locations indicated are confirmed secure: Bridge, Reactor Room and Superlaser Bay. If the characters accept the mission, Ersho distributes two medpacs to the group for free and wishes them luck.
 Lieutenant Ershro
 Fully operational *Xyston*-class Star Destroyers
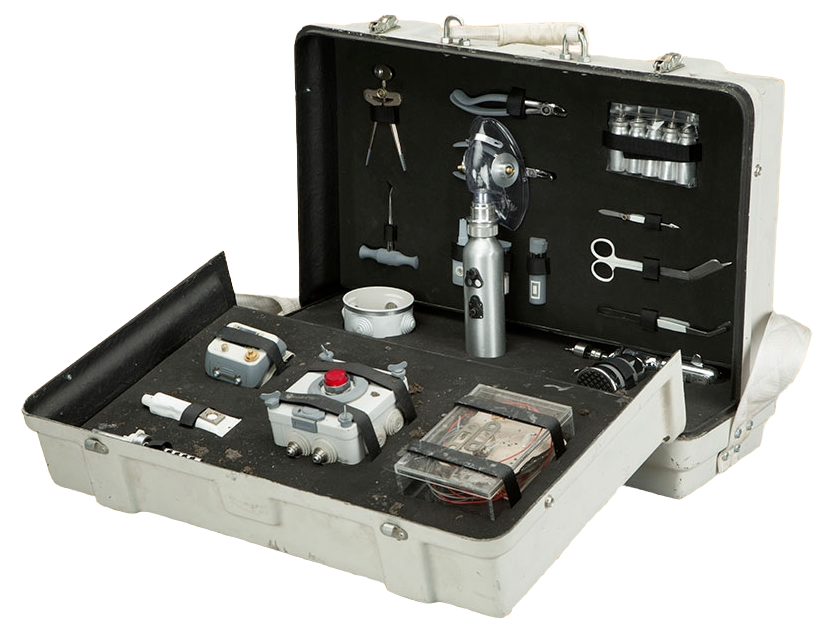
Medpac
A medpac is a quick-acting syringe filled with a concentrated dose of bacta. As an action, you can use this medpac to restore 2d4+2 hit points to a creature within 5 feet
Roleplaying Ershro and his Team
Ershro is a no-nonsense Mon Calamari who is a veteran of the salvage operations at Exegol. He explains that his team has just finished pressurizing the ship and there don’t appear to be any obvious leaks. He seems particularly interested in the vessel’s apparently intact superlaser, a first for the Exogal ship debris. He continues to say that the crew is a little jumpy since arriving, but that all these Sith ships seem creepy. Interviewing the rest of the workers results in even some veterans reporting that they hear whispers and feel chills.
Exploring the Star Destroyer
The halls of the Star Destroyer are relatively intact, but are no longer nicely polished. Corpses of Final Order soldiers litter the halls, perfectly preserved by the vacuum of space. Though unsettling the halls prove easily traversed, the only sounds heard are the characters’ footfalls and the wreck's ominous creaking. Moving from location to location requires about an hour of travel time.
Possible destinations:
Bridge, Reactor Room, Superlaser Bay
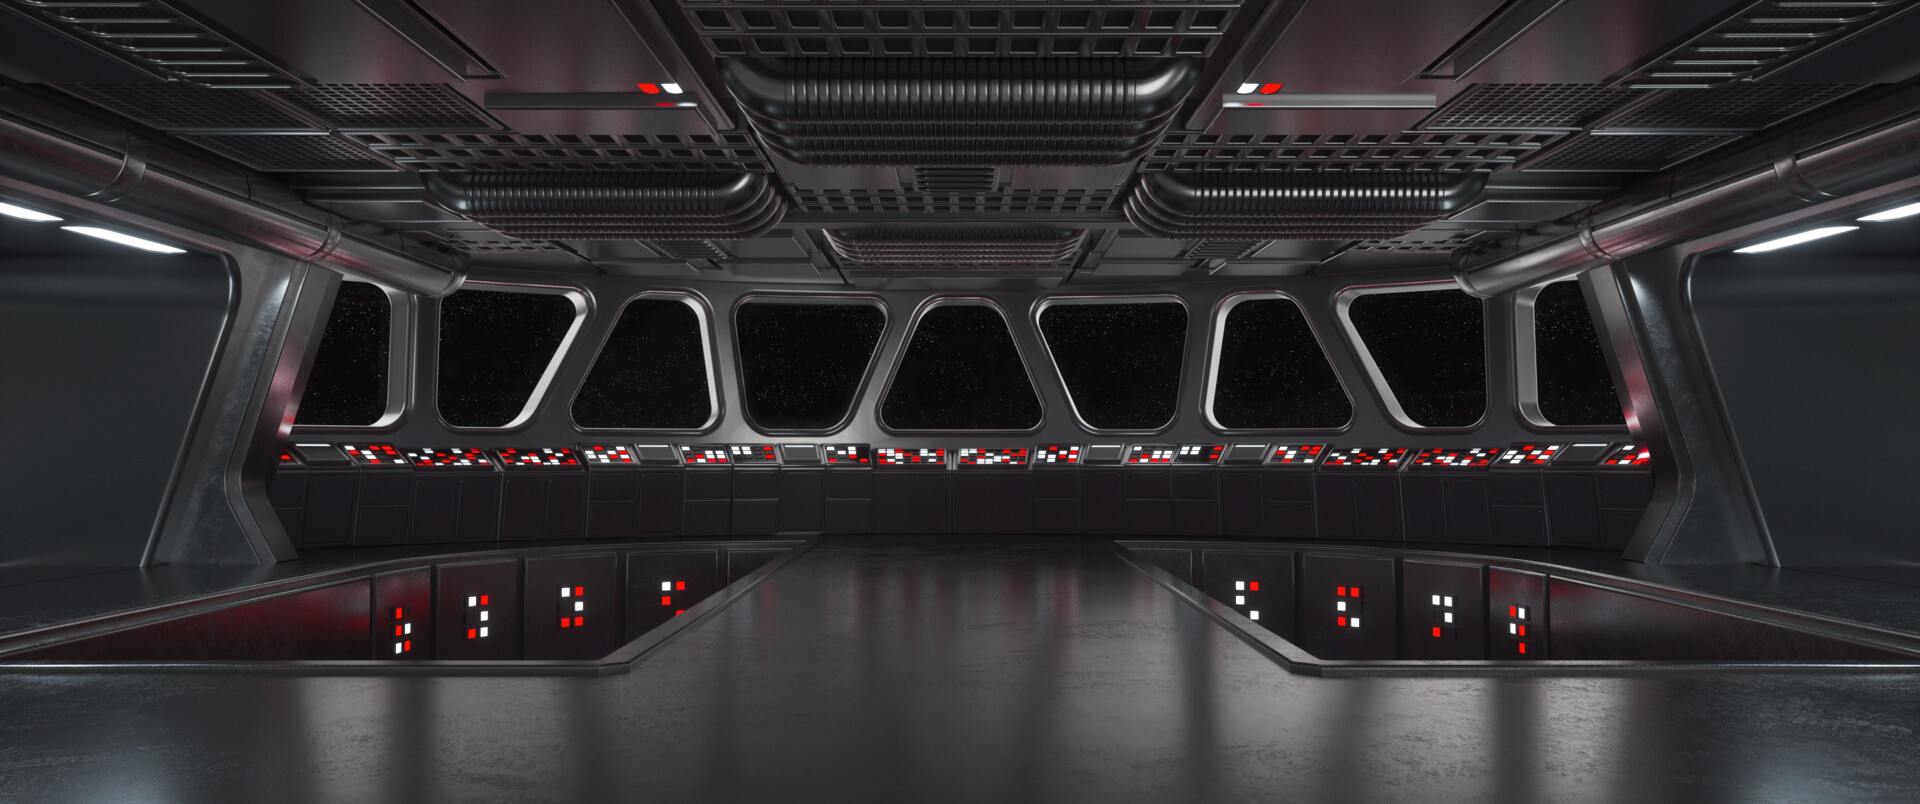
Bridge
Arriving at the bridge, the characters find that the blast doors appear to be mostly closed, with only a 2 foot wide sliver of an opening allowing access. A DC10 Technology check reveals that the blast doors were probably an automatic ship protocol that happened to protect the bridge crew. A DC13 Investigation check reveals that someone or something physically powerful pulled the blast doors apart enough to gain access.
The bridge is dimly lit with red emergency lighting, with a small foyer just past the blast doors that leads into the bridge proper, with 10ft high ceilings and 5ft deep crew pits. Corpses of Final Order command officers and stormtroopers litter the floor, much in the same way as the rest of the corridors. Investigating the room reveals that all the control consoles are dark and inoperable, except for a single active console in the port Crew Pit.

Reactor Room
The door to the reactor room appears to be stuck in a mostly open position. Beside the door lies an open access panel which is used to manually operate the blast doors, a fairly common feature for reactor rooms.
Inside, three large reactors are interconnected via catwalks. The chasm below the catwalks descends as far as the eye can see, and the red emergency lighting creates odd shadows that appear to play tricks on the eyes. Only one of the reactors appears to be active, as it is lit up with computer consoles nearby. Force sensitive characters sense a cold darkness coming from somewhere inside.
Searching the two inactive reactors will result in the characters finding the source of the Dark Side cloud in the room: a black Vibroscythe discarded near a stripped section of paneling. Both of these reactors have been very selectively stripped for parts. A DC10 Investigation check reveals that the Vibro Scythe was used to cut out various parts. A DC15 Technology check reveals that the parts stripped were mostly heavy metal and hydraulic support gear for the reactors.
Using the consoles near the active reactor reveals it to be at minimal operation and electrifying a barrier around the superlaser weapons bay. Efforts to shut down the reactor or sever the connection are met with failure, but there is one option: reactor ejection.

Black Vibroscythe: Versatile (1d10), +1 to damage rolls. Integral to the Force Vision Encounter in the Reactor Room.
Reactor Ejection/Force Vision Encounter
Examining the ejection sequence will reveal that the process will decouple all the reactors from the catwalk mount and then eject them from the ship through a hatch at the bottom of the chasm. It will clearly result in the reactor chamber being exposed to space.
The character executing the eject makes a Technology check with the consoles at the active reactor. Half the result (rounded up, minimum 3) is how many rounds the characters have to escape once the trap is sprung (below).
After the ejection sequence is initiated, once anyone in the party reaches the halfway point on the catwalks (60 feet from the exit and 60 feet from the reactors), voices call out from behind the party on the catwalks. A number of Dark Side Apparitions equal to the number of characters in the part that are Force Sensitive appear. They appear several years older than the characters, and are all wielding ignited lightsabers that are the same as the under construction sabers the characters currently have in their possession.
The group taunts the characters, attempting to goad them into fighting, using such tactics as asking the characters if they want to know which of them killed Rey, or how each of them fell to the Dark Side, or how many innocents they have slain. If the characters do not engage, the taunting escalates.
If any characters decide to fight: Attacking characters have fallen into a Dark Side trap and are considered to be entrapped; if any other characters join the fray during combat they are also subject to the same entrapped status.
If no characters decide to fight: All characters are required to make a DC12 Wisdom Saving Throw as the power of the Dark Side swells in the chamber they are in. If any characters fail, they are considered entrapped and must engage in combat. Characters who succeed at the Wisdom Save become aware of the nature of the trap.
Reactor Ejection/Force Vision Encounter (Cntd)
Both entrapped and non-entrapped characters must roll initiative. During their initiative count, any entrapped characters’ actions (attacking, Force power use, etc) against the Apparitions results in parrying or deflection, with the character in question barely able to avoid a counter attack--no damage taken or received. Any attempt to retreat from the battle requires a DC12 Wisdom Saving Throw (with advantage, if another character spends their Action to use the Force to assist them, similar to the Help action), as if breaking from the Affect Mind Force power effect. The character that first breaks from the fighting or does not join the fighting during the first round will realize that there are only a certain number of turns until the reactor is vented into space, along with the reactor compartment - half the result of the Technology check made to configure the ejection.
The Apparitions do not pursue the characters out of the Reactor Room, instead melding back into the darkness once all the characters leave. If the Vibroscythe is destroyed or discarded, the Dark Side Apparitions disappear and the feeling of Dark Side influence in the room dissipates.
At the end of the allotted time, the reactor is decoupled and ejected into space. Any characters caught inside the chamber when the ejection occurs must succeed on a DC10 Strength Saving Throw at the end of their turn or be blown off the catwalk, likely to their deaths. Characters outside the chamber can use an action to operate the mechanism at the exposed paneling just outside the compartment to manually close the blast doors connecting the reactor room to the corridor. If the doors are not closed, the entire Star Destroyer vents its atmosphere into space over the course of five minutes.
Once the reactor is ejected, the electrified field around the Superlaser Bay Entrance is deactivated.
Superlaser Bay Entrance
The entrance to the Superlaser Bay is a large, specialized blast door. Any Force Sensitive characters can sense the calling coming from somewhere beyond the blast doors. A strong, electrical hum can also be heard.
Success on a DC10 Lore check or a DC13 Technology check reveals that while generally most hangars have many ways to access that area of the ship, the Xyston-class is specifically designed to restrict access.
The door to the chamber is a huge, 30ft wide, 5ft thick, 15ft tall metal blast door with a simple control panel on the side for opening and closing.
There are two security mechanisms active on the door, both of which can be addressed via Bridge and Reactor Room encounters:
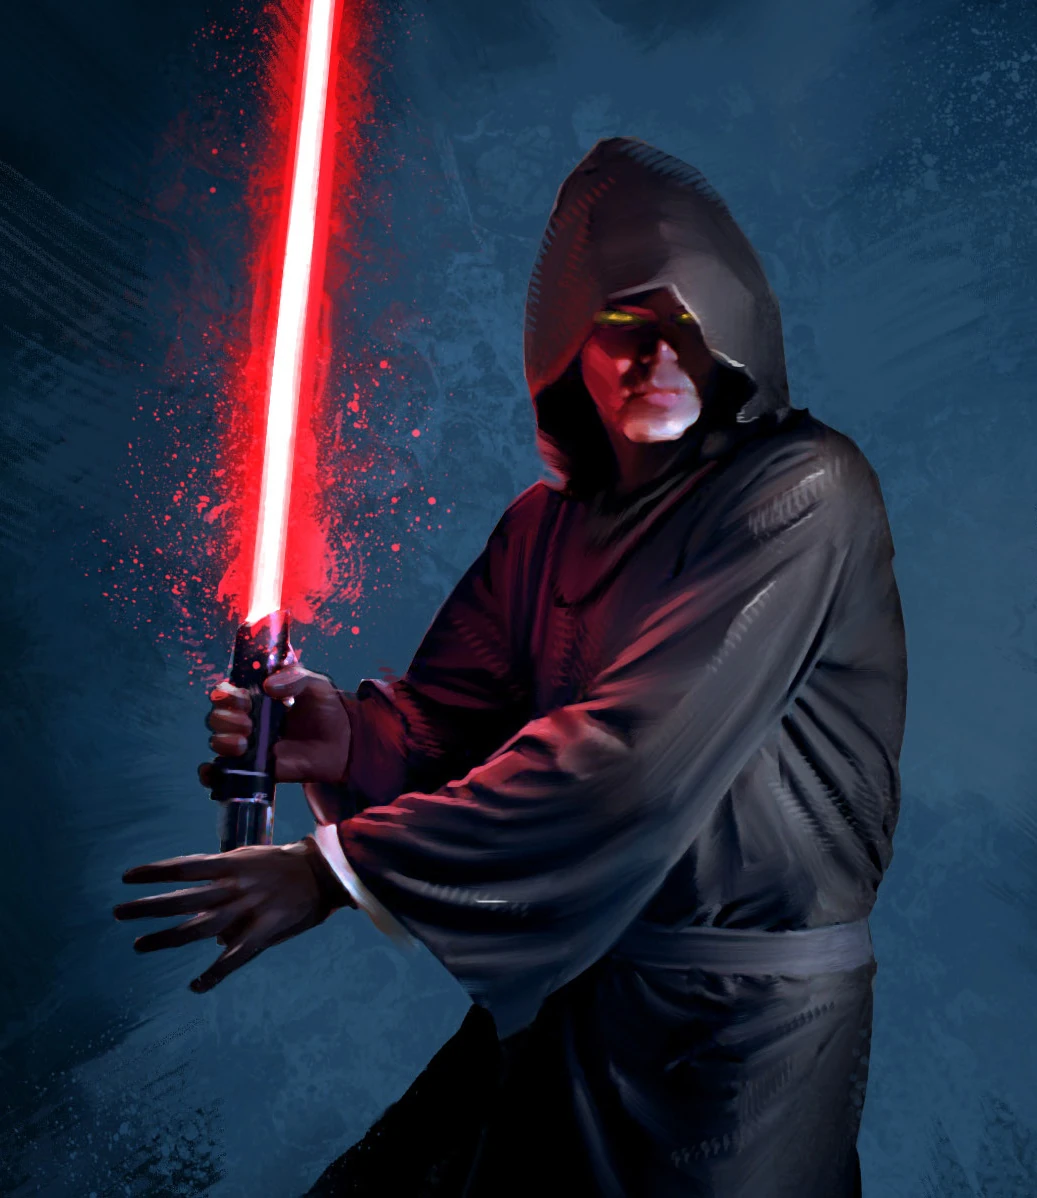 Dark Side Apparition
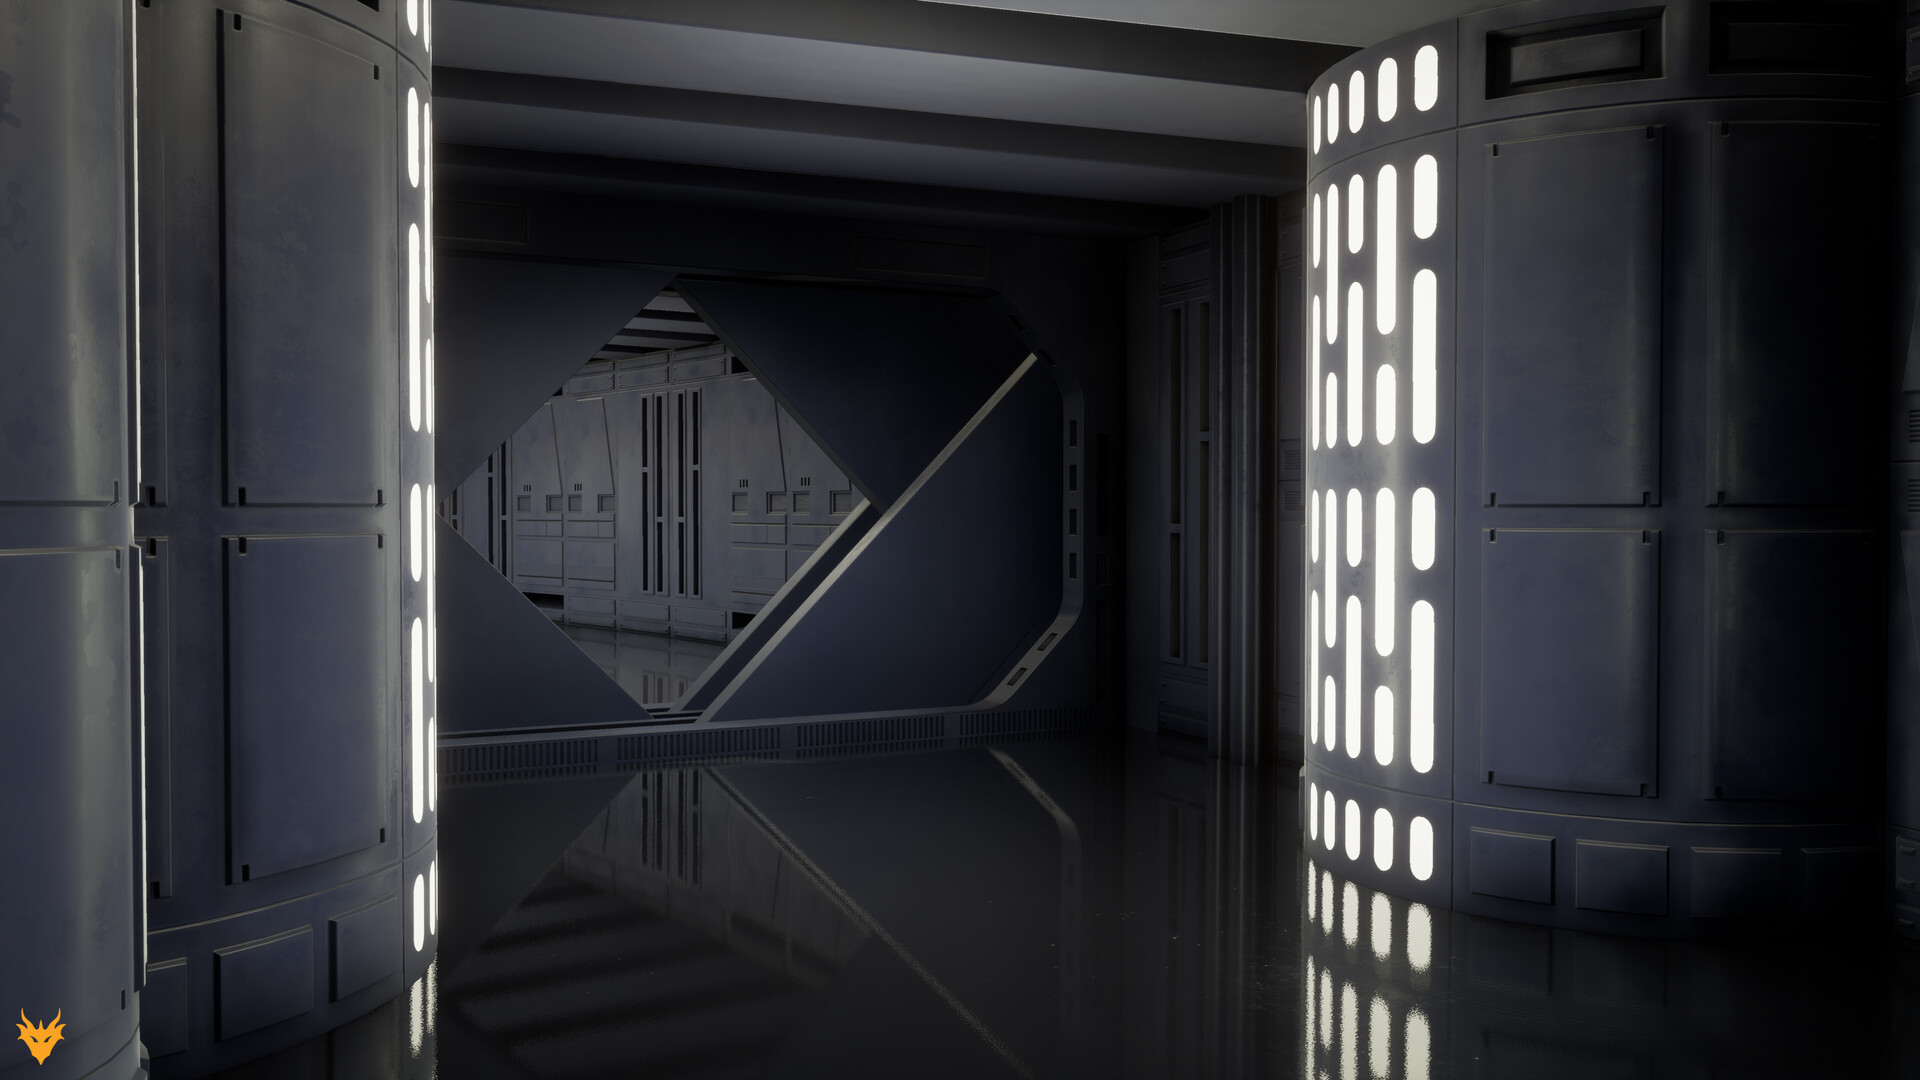 Blast doors leading to reactor room
- The door and control panel are electrified (can be revealed by a DC10 Technology check), which deals 1d4 lightning damage if either are touched. Success on the above Technology check also reveals that the power required to maintain this usually comes from a ship reactor, and the wiring is too deep into the armored walls and doors to physically sever.
- A security override protocol on the control panel does not allow the door to be unlocked on the software level (can be revealed by a DC12 Investigation check, though doing so when the door is electrified results in damage per above). Success on the Investigation check also reveals that the command lockout most likely originated from the Bridge. The lockout can be bypassed with a DC18 Slicer's Kit check.
Once both mechanisms are bypassed, the control can be used to gain access to the Superlaser Bay.
Chapter 3: Superlaser Bay
Refer to Superlaser Bay Entrance on the previous page
Entering via the only entrance into the Superlaser Bay, the characters find themselves in a 1000 ft long, 250 ft wide, 100 ft high chamber that slopes upward from fore to aft. Red emergency lighting lines the edges of the bay and has lit up the superlaser at the center of the room with dim lighting, but much of the rest of the bay is completely dark.
At the far end are hangar doors that lead out to space, though no spacecraft remain to make use of it. The majority of the bay floor is a huge interlocking door. Both doors have been painstakingly welded shut. Taking up the majority of this bay is the huge axial superlaser, which has been retracted to fit into the bay. Various scaffolding surrounds the superlaser itself, likely for maintenance.
Force Sensitive characters feel the calling emanating from the superlaser, somewhere accessible from the top of the maintenance scaffolding. From this distance, it feels like a call for help.
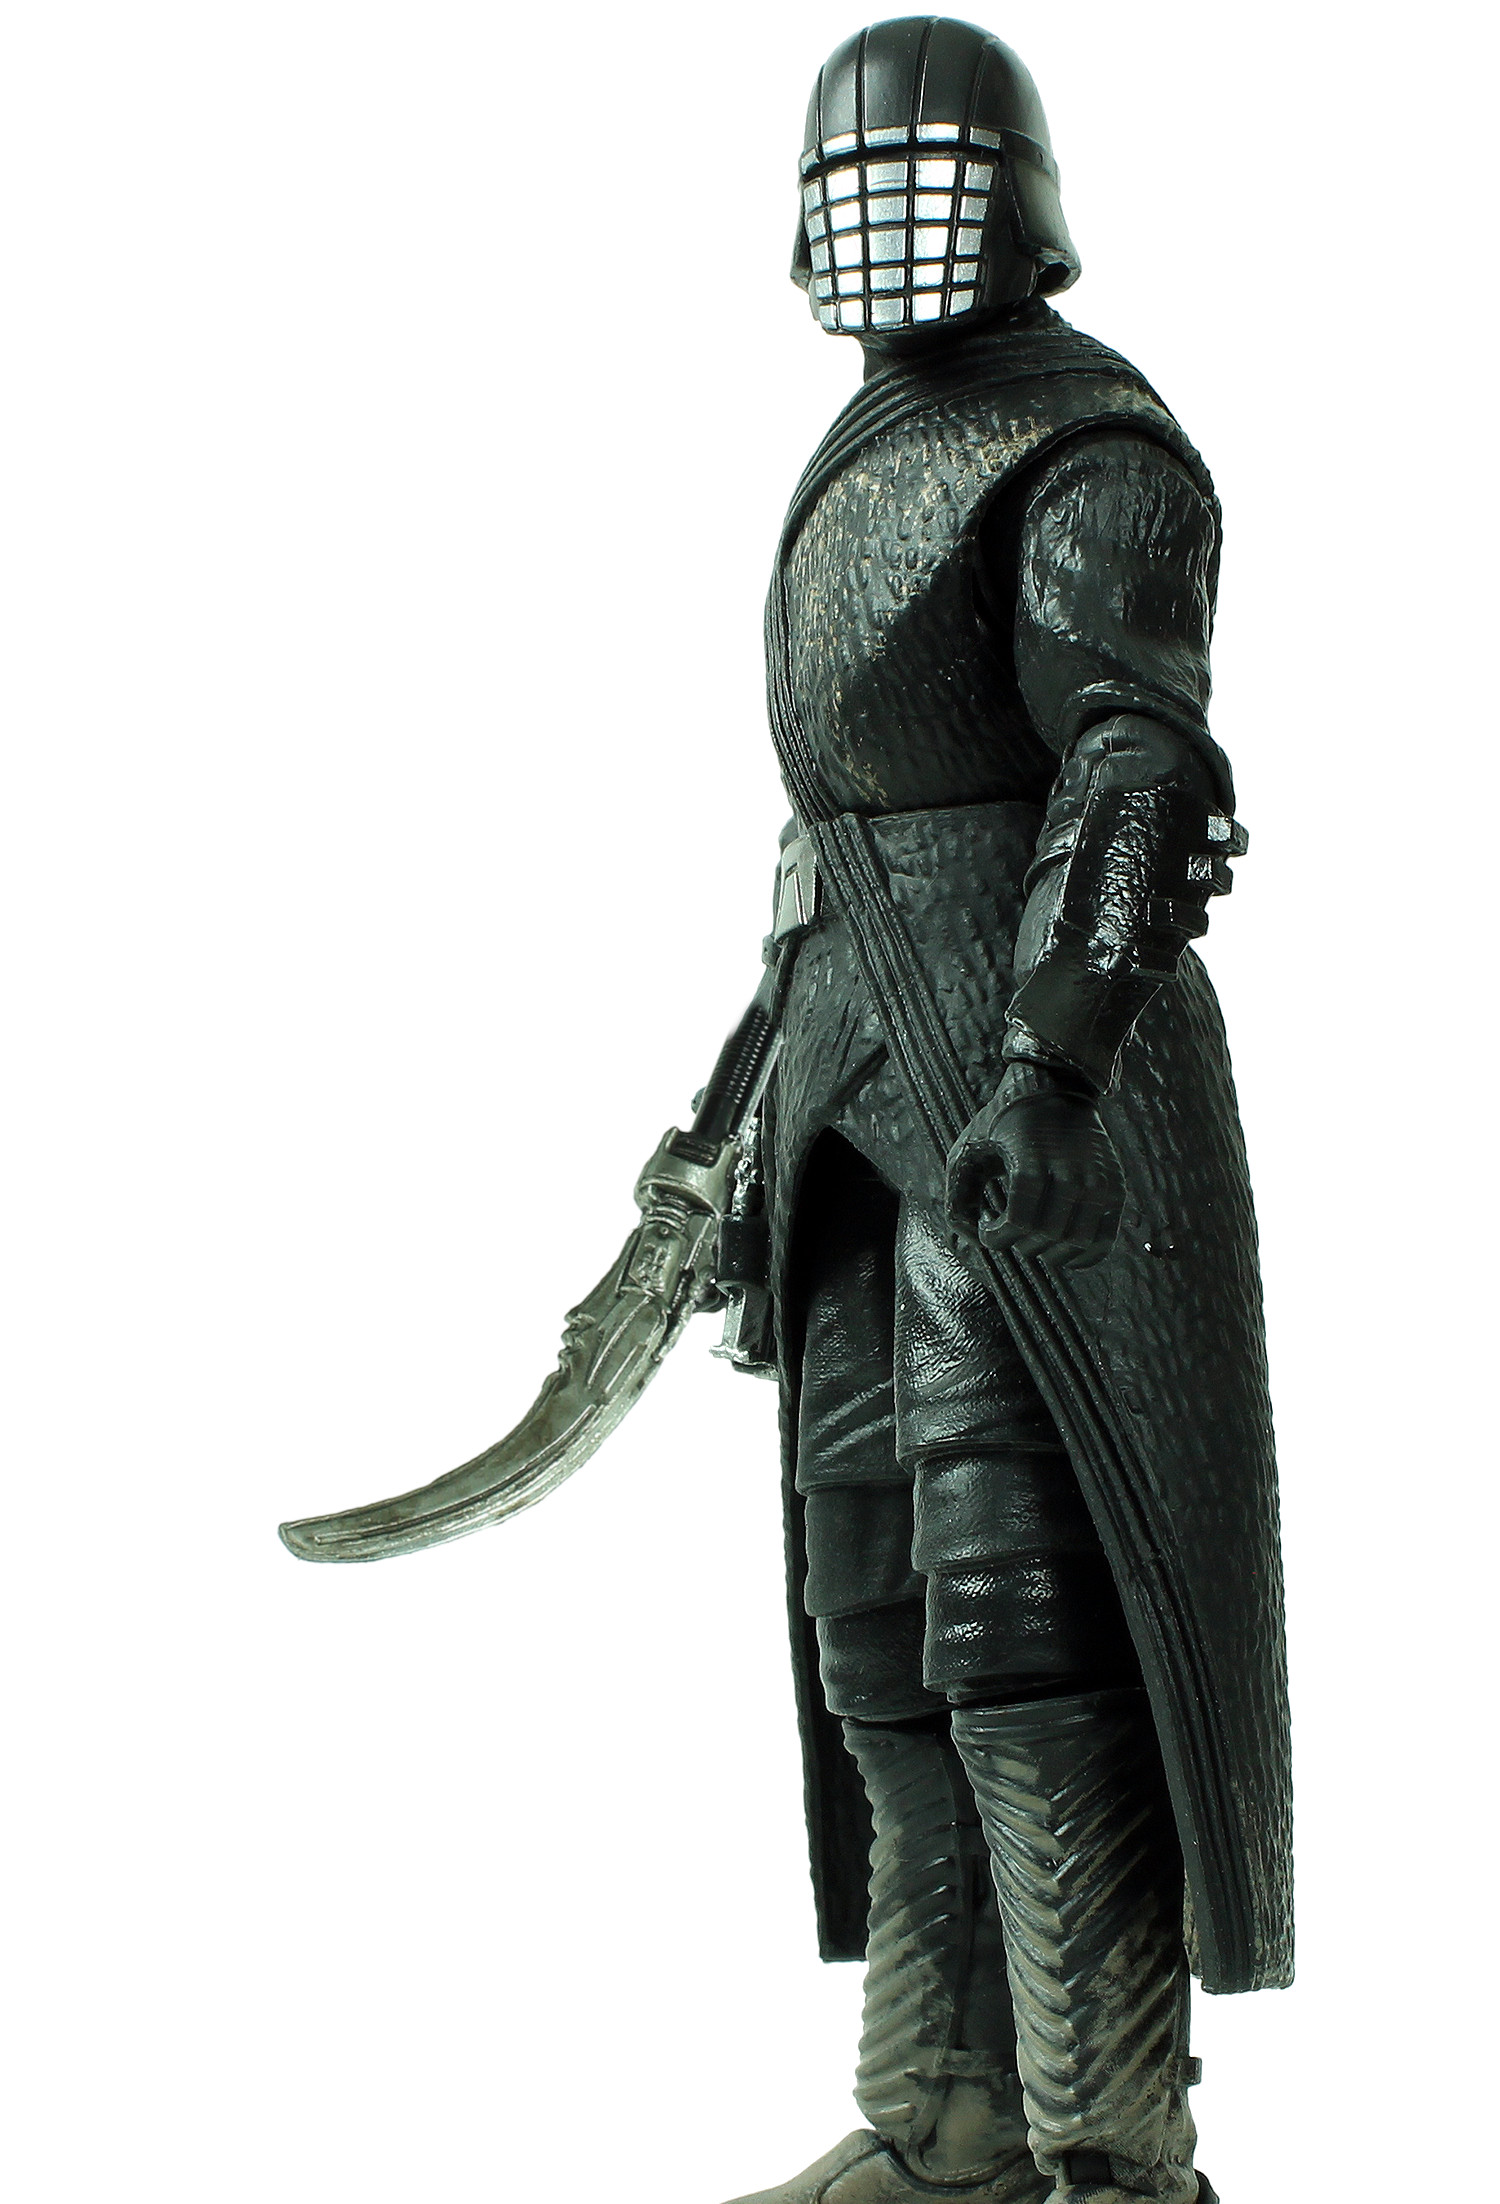
As the players approach the scaffolding ramp or otherwise explore, a figure approaches from the darkness. Wearing a black coat of some kind of huge reptile and a black metal helmet with a narrow slit for eyes. Any characters with Armormech’s Tools proficiency can tell that the helmet is made of Pastillion Ore, used long ago to make inlays for lightsaber hilts. The most glaring detail however is the figure’s right arm - the entire limb appears to be fashioned into one big metallic prosthetic, with the end a large scythe.
As he’s approaching the characters, he speaks in a deep voice that crackles through a damaged helmet speaker. “Creatures of the light… ones we missed. You’ve come here to me, and I’m eager to harvest your essence.” A DC13 Lore check reveals that this is one of the Knights of Ren, thought killed by Ben Solo during the Battle of Exegol. A result of 18+ reveals that this is Vicrul, one of the Knights of Ren, thought to use a vibroscythe to harvest souls to augment his power.
A DC15 Perception check reveals Vicrul's camp hidden behind some empty cargo containers.. If the camp is searched, they find 300cr, a bedroll, a set of Biotech’s Implements and a Mechanic’s Kit.
Roleplaying
Vicrul, Knight of Ren
Vicrul escaped from the Battle of Exegol, severely wounded and de-limbed by Ben Solo. Having made it to this Star Destroyer, he survived when it was nearly destroyed, and has been keeping a low profile ever since, stewing about his revenge against those that caused him harm, including Ben Solo.
While single-mindedly intent on harvesting the Force Sensitive characters’ souls, he is curious about them, and may ask about who they are and serve (as the Knights of Ren harvested Force Sensitives under Kylo Ren and Ren), where Ben Solo is, and the state of the galaxy.
He rebuffs all attempts to find out what he knows about why the characters were called here, instead focusing on his own questions. He will not allow the characters to leave, and invariably attacks regardless of whether the players satisfy his curiosity. \columnbreak
Vicrul
Medium Humanoid, Chaotic Dark
- Armor Class 14 AC (light battle armor)
- Hit Points 68 (8d8+32)
- Speed 30 ft
STR DEX CON INT WIS CHA 16 (+3) 12 (+1) 13 (+1) 10 (+0) 9 (-1) 12 (+1)
- Saving Throws Strength +5, Dexterity +3
- Senses Darkvision 60 ft (with helmet), Passive Perception 10
- Languages Galactic Basic
- Challenge 2 (450xp)
Traits
Aggressive. As a bonus action, Vicrul can move up to his speed toward a hostile creature that he can see.
Actions
Exude Dark Side Fear (1/day). Each creature within a 40ft radius must make a DC13 Wisdom save or become Frightened for 1 minute. Non-Force Sensitive creatures have disadvantage on this roll. Affected creatures can make another Wisdom save at the end of their turns. On success, the power ends for that creature.
Multiattack. Melee Attack: Vicrul makes two vibroscythe arm attacks.
Vibroscythe Arm. Melee Weapon Attack: +5 to hit, reach 5 ft., one target. Hit 8 (1d10 + 3) Kinetic damage.
Kyber Crystal Cleanse
With Vicrul dealt with, the call to the Force Sensitive characters is even stronger. The top level of the scaffolding allows access to the firing emitter for the superlaser, with the call coming from behind a large 5ft x 5ft panel. The panel can be removed easily, allowing access to the Superlaser mechanism. With the machinery inside exposed, it becomes clear that the entire interior is a lattice of machinery and glittering Kyber Crystals, each one an angry, glowing red.
Force Sensitive characters are drawn to different shards of crystal in the machinery, each can be dislodged when any effort is applied.
The dislodged crystals cry out with pain for each individual character, and it is apparent that the crystals have been “bled”, corrupted by the Dark Side of the Force. Force Sensitive characters should intrinsically feel an ability manifest to Cleanse the crystal and can make a Forcecasting ability check to cleanse the crystal. Upon completion, the crystal Color attribute can be selected from the available options and the Power attribute changes per Kyber Crystal Cleanse Table.
Kyber Crystal Cleanse Table
| Forcecasting Result | Power Attribute |
|---|---|
| 1-5 | You gain a +1 bonus to damage rolls and a -1 penalty to attack rolls made with this weapon. |
| 6-10 | You gain a +1 bonus to damage rolls of force powers you cast when using this weapon as your focus. |
| 11-15 | You gain a +1 bonus to the save DC of force powers you cast when using this weapon as your focus. |
| 16-20 | You gain a +1 bonus to damage rolls made with this weapon. |
| 20+ | You gain a +1 bonus to the save DC of force powers you cast when using this weapon as your focus and you gain a +1 bonus to damage rolls made with this weapon. |
Searching for Additional Crystals
If the characters choose they can search the superlaser machinery for additional viable kyber crystals. Characters can use either Investigation or Forcecasting skill to find additional crystals. Use the average from all the character’s results and consult the Additional Crystals Found table. The crystals can more easily be cleansed, and have random Color and Power attributes per the Additional Crystals Color and Additional Crystals Power Attribute Tables.
Additional Crystals Found Table
| Investigation/Forcecasting Group Result | Additional Viable Crystals Found |
|---|---|
| 1-10 | 1 |
| 11-15 | 2 |
| 16-20 | 3 |
| 21+ | 4 |
Force-Linked Kyber Crystal
Artifact (Common for purposes of installation/removal)
This Kyber Crystal has a special link to the Force Sensitive creature that found it. It aches to be Cleansed - an ancient Jedi ritual where all Dark Side influence is purged.
Color attribute: When found, the crystal’s color is Red. When cleansed, it can be set to Blue, Green or Yellow.
Power attribute: When found, the crystal has no power attribute. When cleansed, its Power attribute depends on the result of the Kyber Crystal Cleanse activity.
Color/Power attribute transfer: This crystal’s Color and Power attributes can be changed to the Color and/or Power attribute of another Kyber Crystal or other designated source. This action can only be performed by the linked creature, can be done over the course of a short rest and can be done without removing the crystal from its current chassis. Each “source” can only be used to transfer to/from once, regardless of which attribute is copied.

Additional Crystals Color Table
| d100 result | Crystal Color |
|---|---|
| 1-20 | Blue |
| 21-40 | Red |
| 41-60 | Green |
| 61-70 | Yellow |
| 71-80 | Purple |
| 81-90 | Orange |
| 91-93 | Viridian |
| 94-96 | Cyan |
| 97 | Bronze |
| 98 | Silver |
| 99 | White |
| 100 | Black |
Additional Crystals Power Attribute Table
| d100 Result | Power Attribute |
|---|---|
| 1-50 | No Power Attribute |
| 51-60 | You gain a +1 bonus to damage rolls and a -1 penalty to attack rolls made with this weapon. |
| 61-70 | You gain a +1 bonus to the save DC of force powers you cast when using this weapon as your focus. |
| 71-80 | You gain a +1 bonus to damage rolls made with this weapon. |
| 81-90 | You gain a +1 bonus to the save DC of force powers you cast when using this weapon as your focus and you gain a +1 bonus to damage rolls made with this weapon. |
| 91-92 | You gain a +2 bonus to the save DC of force powers you cast when using this weapon as your focus. |
| 93-94 | When you deal damage with this weapon, you deal an additional 1d4 or sonic damage |
| 95-96 | You gain a +2 bonus to damage rolls made with this weapon. Additionally, you gain a +2 bonus to damage rolls you make with force powers when using this weapon as your focus. If the power would damage multiple targets, you can only apply this damage bonus to one of them. |
| 97-98 | When you deal damage with this weapon, you deal an additional 1d6 lightning damage |
| 99-100 | You gain a +3 bonus to the save DC of force powers you cast when using this weapon as your focus. |
Return to Ershro and Departure
The characters can return to Ershro at the entry airlock, where his engineering crew is ready to begin dismantling the hulk. If the characters have completed securing the key locations, Ershro takes the characters at their word and pays 500cr each. The characters are then free to depart on the Tireless and return to Chandrila.
Lightweapon Chassis Assembly
If the characters wish, they can use the hours of the trip back to Chandrila to assemble their lightweapon chassis together with their newly acquired kyber crystals. Their first lightweapons are now complete and ready to be used!
Chapter 4: New Knights
Once the players arrive back at Chandrila, they find Rey awaiting their return. A quick glance at her shows that she’s nervous, and she quickly approaches the characters when they debark, asking them anxiously how the mission went.
Once the characters fill her in, she apologies and shows them a book she was carrying, an ancient Jedi text. She explains that she reluctantly sent the group on the mission to Exegol after receiving a Force vision. With the report from the group, she surmises that they have undergone what the Jedi of the Old Republic would refer to as the Jedi Trials. She is uncertain of the validity of the trials, noting that they are a relic from a past era, but believes it was the best way to advance her students forward. She asks the group about their experience, if they believe future additions to their group should experience similar trials.
Rey notices that all characters had the opportunity to construct their own lightweapons and approves. She draws and ignites her own and salutes, with the hilt at chest level and golden blade extending upward.
As the adventure concludes, characters advance to 2nd Level.
Rey’s Knighting
“Congratulations, everyone, on your achievement. Even if we do not follow everything that made the old Jedi what they were, I have confidence that we will all be champions of the Force. Now... the real challenge begins.”
The Jedi Trials of the Old Republic
In the days of the organized Jedi Order during the time of the Old Republic, the Jedi Trials were administered by the Jedi Council to Padawan learners before becoming full fledged Jedi Knights. The details of the trials have survived in the form of the ancient Jedi texts, handed down from Luke Skywalker to Rey.
- Trial of Skill: A test of lightweapon technique and Force Power use, usually in the face of distraction. Rey considers the fight against the turrets on the bridge of the Star Destroyer to satisfy this test.
- Trial of Courage: A test of character, ensuring that a Jedi persists in the face of fear, or fighting a vastly more powerful foe. Rey considers the confrontation with Vicrul to satisfy this test.
- Trial of the Flesh: A test of character, ensuring a Jedi can endure physical pain, hardship and loss. Rey considers the injuries that were sustained or the deaths of any characters during the mission to satisfy this test.
- Trial of the Spirit: Another test of character, requiring temptation to be put aside in pursuit of a higher cause, and go on a quest of self discovery. Rey considers the characters’ choice to defy the vision of the corrupted versions of them in the reactor room to satisfy this test
- Trial of Insight: This test evaluates the subject’s ability to See through illusion, evaluate an individual's true persona, and unveil lies. Rey considers the characters escaping the trap in the reactor room to satisfy this test.
