App Logo My Documents
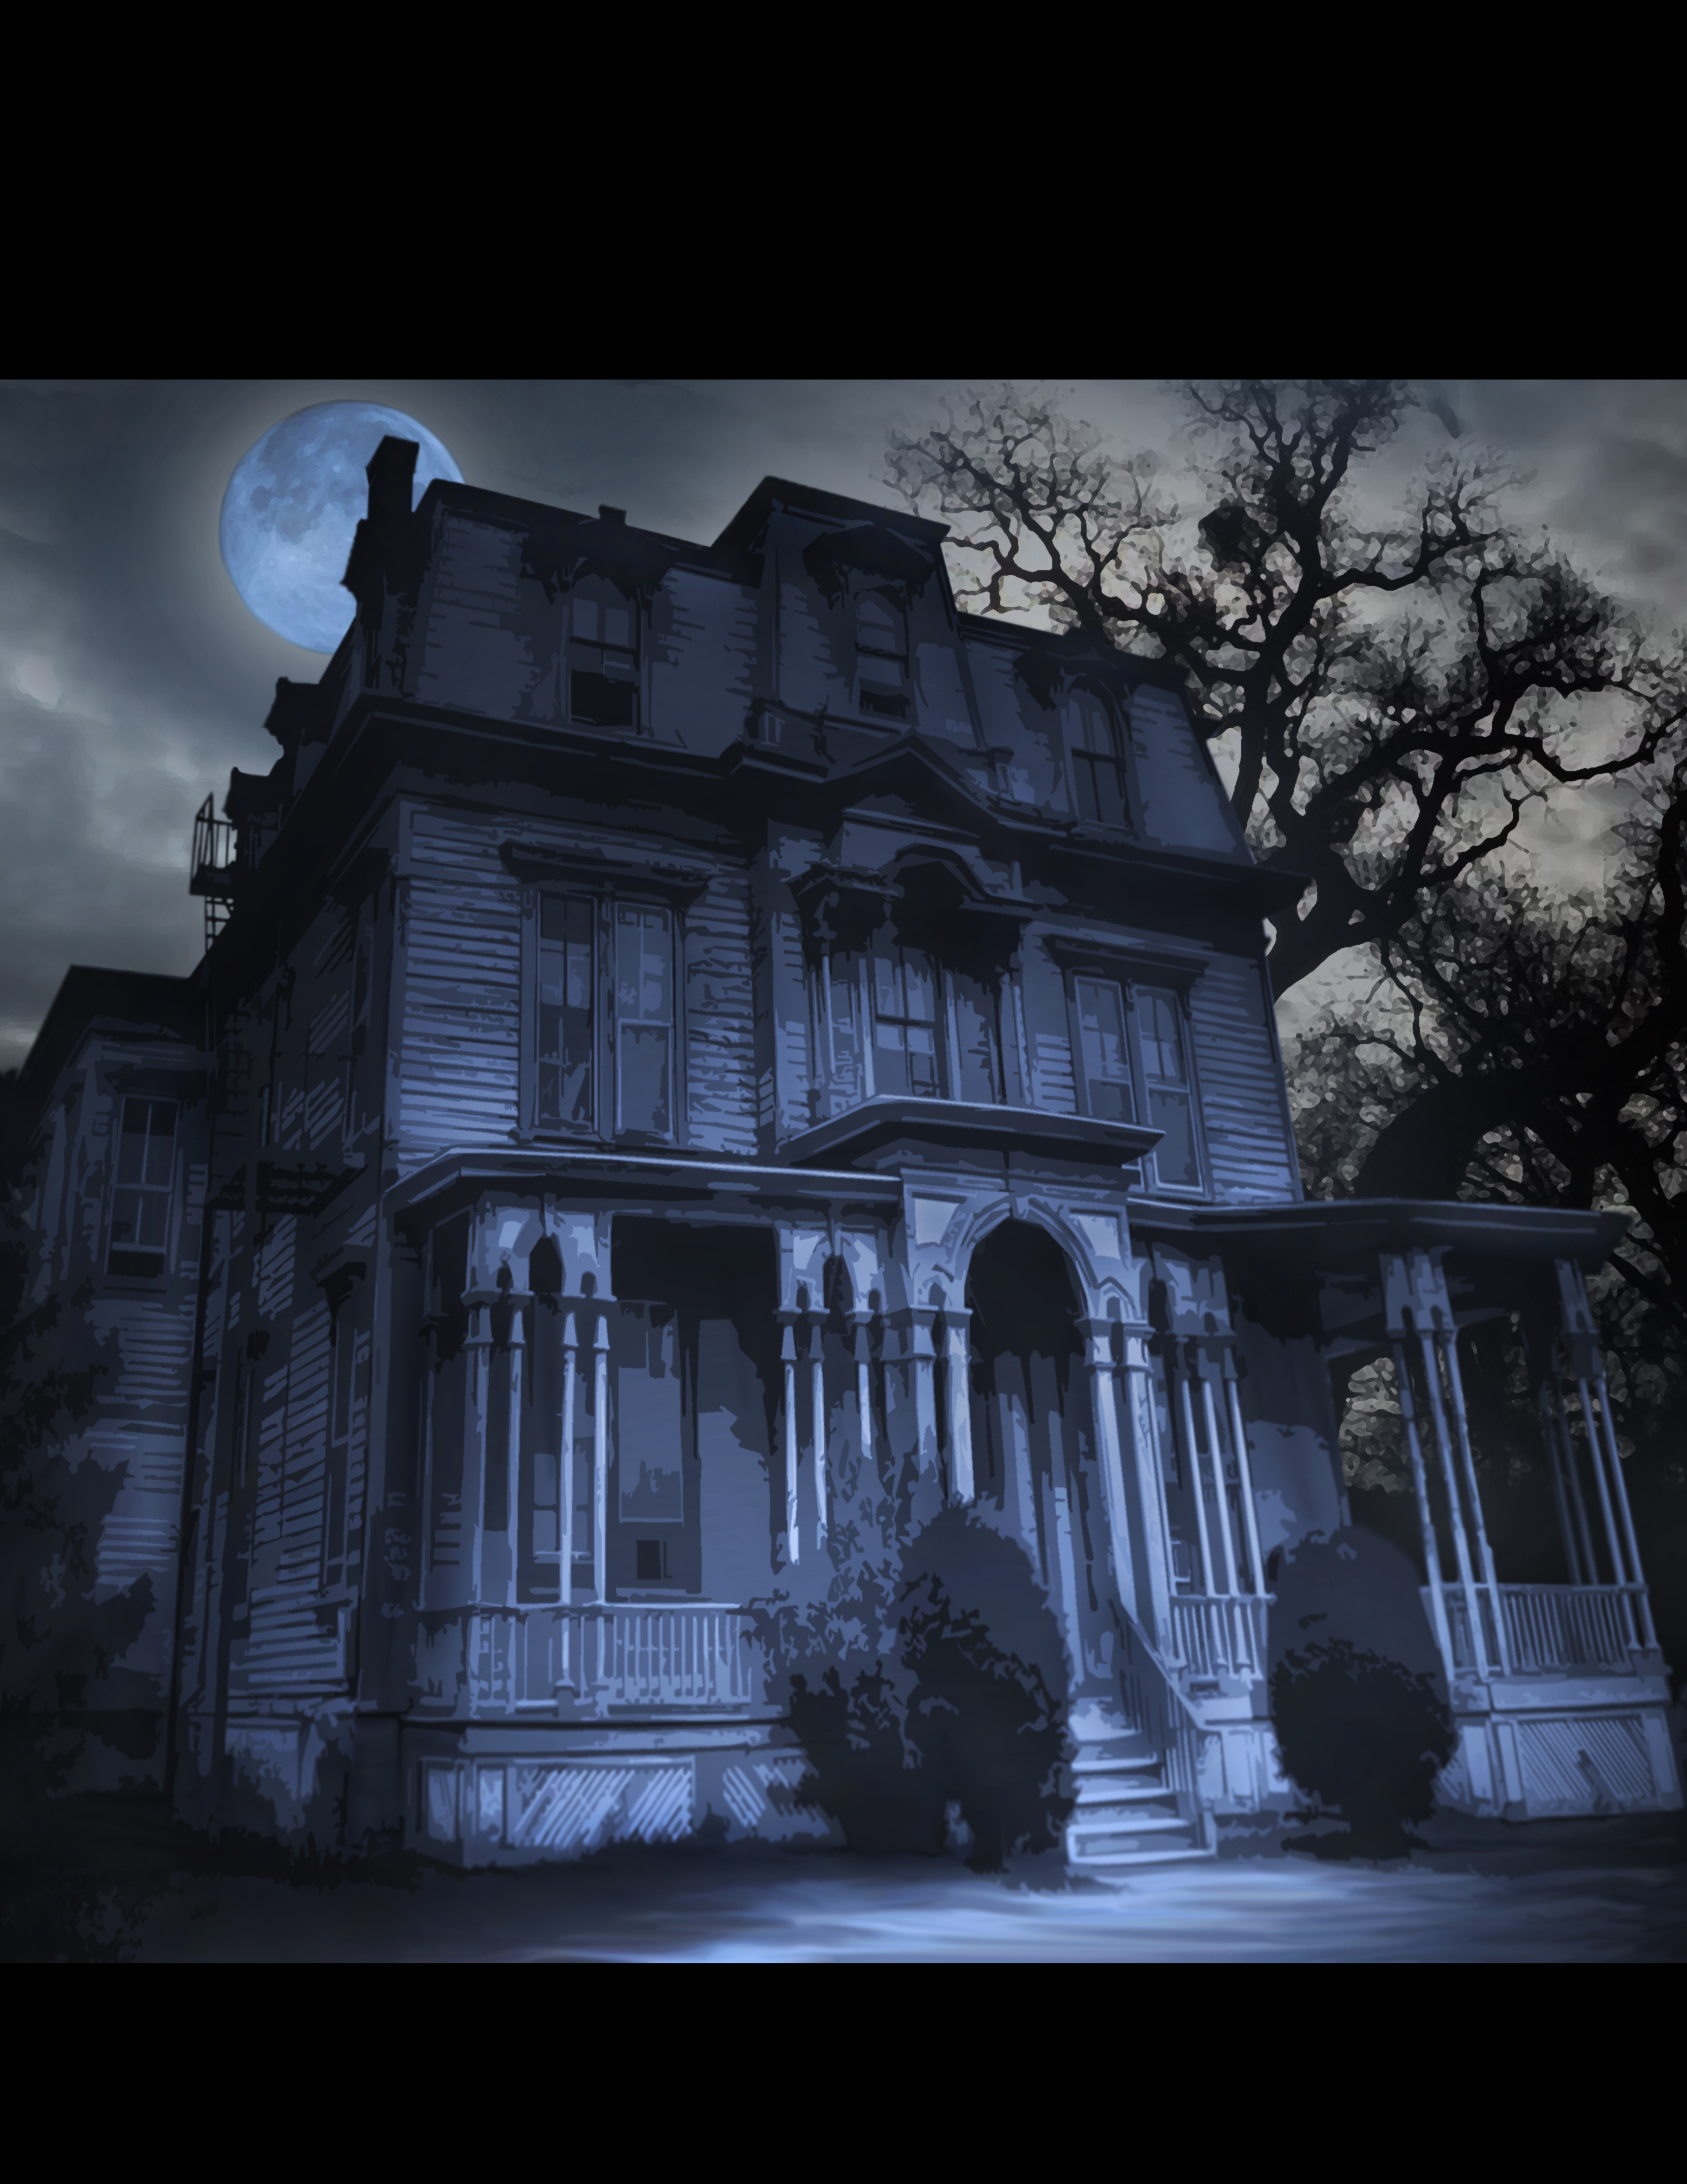
Mansion of the Mad Mage
Presented as a Collaboration Between
Dungeon's And Dinners and
Maps 'n' Quests
First Edition
The content in this document was created as part of of a collaboration between the Dungeons and Dinners podcast and Maps 'n' Quests, and is freely available for everyone. We recorded a special podcast episode featuring both creators you can listen to here if you want to hear more about how this all came to be.
If you enjoy this adventure and would like more content like it, please consider following us via social media or checking out our other related content sources.
We appreciate all of the love, feedback, and warm welcomes from the TTRPG community as a whole and hope to give back in some part for all that has been shared with us.
Dungeons and Dinners on Twitter
Maps 'n' quests on Twitter


This Adventure is Flexible
This adventure is intentionally vague in some places. The intent is that this adventure can be placed in any town or location of sufficient population, or even outside of a town as a standalone encounter. This allows you to adapt it to your needs, using your own established or new NPCs as desired. Additionally, long-form descriptive text of each area will be avoided in favor of minor descriptions and bullet points, since many GMs prefer to explain the narrative in the moment, or adapt the location to better suit their needs.
A Note on Difficulty
This adventure as presented is designed for a 4th to 5th level party but can be run at nearly any level. The main design revolves around the final encounter with a possessed animated armor which contains a ghost (CR4). All of the other combats are variable. If you want to run this adventure at a lower level, the ghost can be removed (leaving just the animated armor), or reduced to a wight, will-o-wisp, or spectre, and all other encounters tweaked in such a manner that the adventure could be run as low as level 1. Increasing the difficulty is easier, by increasing the number and type of fire monsters up to and including demons or elementals, or by swapping the ghost with a wraith and adding some minions in the final encounter.
Setting Up
Synopsis
- At the beginning of the adventure, the players learn that there’s a house in the wealthy district in town that seems to be at the center of a number of issues in the area, namely a marked increase in the number of reported incidents involving uncontrolled fires and suspected arson. Alternatively they discover an abandoned house on burned ground.
- The party can investigate the house directly and break in, or talk to the townsfolk that will guide them to the current curator of the lot who will gladly provide them entry.
- Once inside the house, they will find access to the second floor is blocked due to the collapsed stairwells. More investigation reveals one or more fireplaces and magical wards in every room, some of them providing secret entrances into the thick walls which are a maze of their own that leads to the second floor.
- As the party becomes more aware of the secrets of the house and begin to poke around, the house will begin to defend itself, and the party will have to fend off several fiery encounters, which will increase in danger and frequency as they approach the coal chute that leads to the basement.
- In the basement the players must fight off the ghost of the Mad Mage who is trapped inside an animated suit of armor, while the ghost tries to finish the ritual it started many years before. Defeating them frees the house of their curse and rewards the heroes with the Searing Skillet, as well as a way for them to regain access to the first floor and exit.
Background
- The Mad Mage wasn't always mad, but was slowly driven to madness by tampering with magic that involved trying to make a connection to another realm, one steeped in fire magic.
- Either through paranoia of the outside world or fear of what they were becoming, the mage fortified their house both physically and magically, barring the windows, using heavy locks, and placing magical wards around every window and door.
- To further contain and obscure the work they were doing, the mage built a maze within the thick walls of the house itself, and used glyphs and magical fireplaces to help contain and control the powers they were drawing on.
- The mage eventually died in the laboratory in the basement, and the half-finished ritual therein is still burning, thinning the gap between the two planes and allowing more and greater powers through from the other side.
- The Mad Mage’s spirit still lingers as a ghost, currently possessing a suit of ancient armor that was at the center of the ritual, and is waiting on enough souls to enter its lair to finish the dark ritual it started.
- If the house was contained within a city, it was largely ignored due to the massive stipend the mage provided the city many years before, with an escrow for lawn care and general upkeep. Only recently has anyone taken interest due to the noted increase in fire-related incidents that seem to be centered around the location.
- In lieu of rumors, if the house is a solitary entity in a location such as a forest, feel free to surround it with charred trees and permanently blackened grass in a circle around it.
Mansion Of The Mad Mage
Regional Effects
The Mansion of the Mad Mage sits atop a partially completed tear to another realm. While the mage was able to contain some of the effects of their ritual, the age of the protections are showing, and fiery magic is seeping through. The range and intensity of the below regional effects can be as small as 100ft from the outer edge of the house to as much as a mile, depending on your setting.
- The area around the house is charred and scorched. Neighboring houses may have scorch marks appear overnight or trees and shrubs may be burned or charred.
- Sources of natural fire burn faster and provide half the heat and light around the house, while being consumed twice as fast. Neighbors complain about their homes not being heated in the winter, or the amount of wood they’re going through being high. Torches work poorly, and street lights and lanterns have trouble remaining lit.
If the Mad Mage dies, these effects fade immediately.
Outside the House
While the structure of the house seems physically sound, the surrounding area gives off a feeling like the house had burned down recently. The following descriptors can be used in relation to the house grounds.
- The outside of the house is thick stone, featuring ornate gothic carvings.
- Soot and char covers many of the walls in various places.
- Ash can frequently be seen lingering in the air.
- In a city, the lawn has been replaced with gravel, and the trees have been replaced with fountains or simple statues.
- Outside of a city, the grass is black and the trees are all turned into charcoal.
All of the windows to the house are barred and only the front doors lead in or out of the house. The entry is a pair of large iron double-doors secured with a lock. Picking it requires proficiency with thieves tools and a DC 17 Dexterity check. In a city, a mayor or other interested party may have provided the party with the key to the house in an effort to investigate the recent issues. Alternatively, consider hiding the key on the grounds somewhere if the characters cannot otherwise get in via picking the lock.
Investigating the House
This adventure is intended to be run in the following order: first floor, wall maze, second floor, wall maze, basement. Outside of that order, feel free to give players clues in the various rooms (books, scraps of paper notes, etc) and run the encounters listed or make use of the suggestions provided to move the adventure along.
First Floor - Main Room
At a glance, the inside of the house seems modest, and dimly lit. Several fireplaces line the walls of the main entry which is otherwise bare. As players adjust to their surroundings, they may quickly notice the following features.
- Each of the doors and windows are marked with arcane glyphs either surrounding them or on the floor nearby. An arcana check of DC 13 reveals abjuration roots to the glyphs, and various warding elements. If the check is surpassed by 5 or more, it can be ascertained that magical fire is repelled by these wards as well.
- The walls are incredibly thick for a home, each wall appearing to be a 5ft thick slab of chiseled rock.
- Faint glows shifting ever so slowly appear around the cracks of doors that lead to the various other rooms of the house.
First Floor - Rooms
Most of the rooms on the first floor appear to have been entertainment rooms of various sorts. Lounges, a kitchen and dining area, and various tea rooms and studies. About half of the rooms on the first floor have at least one or more instances of dimensionally locked fire.
Dimensionally Locked Fire
All of the furniture in the house is smoldering or still slightly ablaze. The magical fire burns incredibly slowly, and flickers in slow motion. The fire itself is somewhat ethereal and translucent and it appears as if the objects it burns upon have been burning for decades. Anything within the house exposed to the magical fire has no new effect. The magical fire does not spread or interact directly with any object that was already inside the house. Any object that came from outside of the house that interacts with the magical fire will be affected as if exposed to a natural fire.
Nearly every room has one or more fireplaces in it. None of them are lit and they remain cold inside. A DC 18 Investigation check, or the investigation of 3 or more fireplaces, reveals that the walls themselves are the chimneys, and contain a network of tunnels 5ft square, enough room for a creature to crawl through.
If the players linger too long or don't investigate the fireplaces, the first encounter can be used in any room with a fireplace to help guide them. If they show intent to enter a fireplace, the first encounter starts immediately.
First Floor Encounter
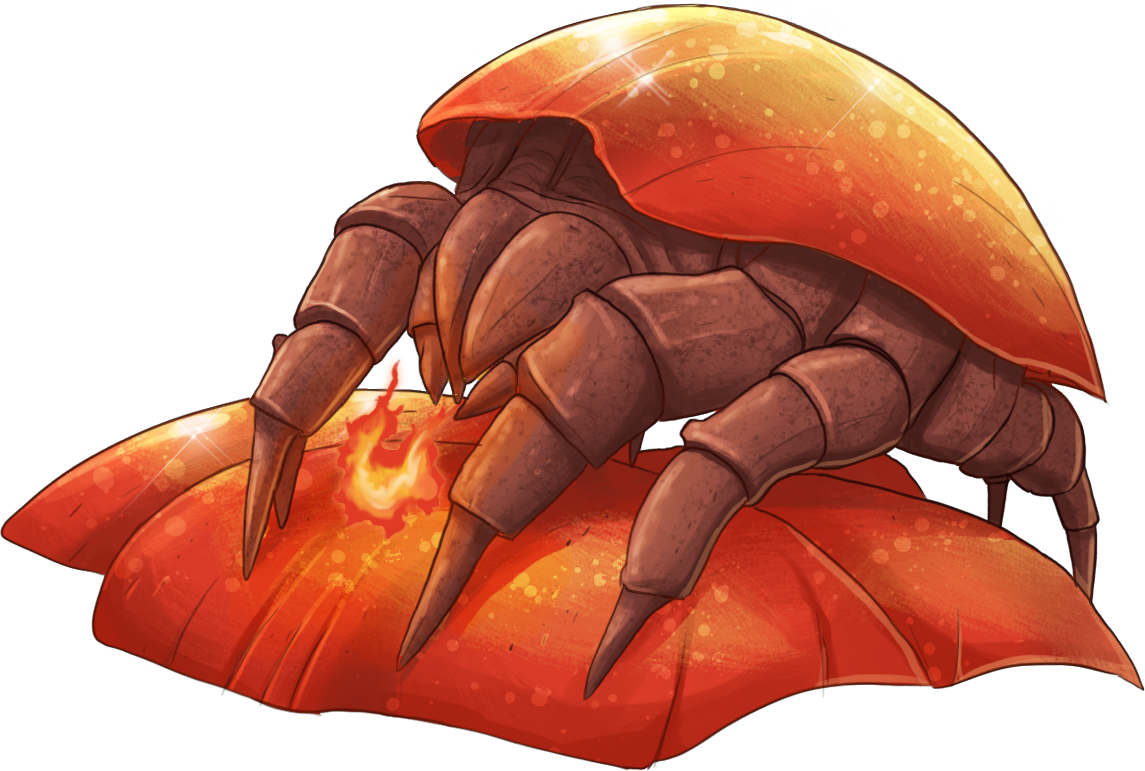
Several devious Magma Mephits (Monster Manual p.216) fly out from the nearest fireplace (or from multiple if there is more than one fireplace in the room). For 4th level party, one mephit per player will fly out and immediately attack during a surprise round. For lower level parties, reduce the number of mephits. For higher level parties, the first encounter should be an easy to medium CR using low-intelligence fire or demon-type creatures.
1st Floor
The First Wall Maze
Unless the players have access to flight or some other way past the destroyed staircases (which are covered with dimensionally locked fire at the top that will burn ropes or ladders), they will need to enter the wall maze via any of the fireplaces on the first floor to work their way up. The wall maze has the following characteristics.
- The space inside the wall maze is a twisting chimney full of black soot and dust. Though it appears straight from above, the inner workings wind up and down, and are cramped quarters. To navigate them, characters must crawl while prone and navigate over and under the twisting sections.
- The maze covers the entire section of the walls of the house, and goes over doorways and under windows.
- Small dead creatures may be encountered throughout the maze. A DC 13 survival or investigation check reveals that the bones are stripped bare, with no flesh remaining. Tiny scratch marks cover the bones in various directions.
- The central area of the house contains a stairwell and tight room inside the walls that leads to the second floor.
- The objective should be to locate the stairwell in the central section that leads to the second floor. If players start far from this exit, consider giving them hints in the form of glowing runes that seem to mark passage, or use the first floor wall maze encounter detailed below, to help guide players toward the exit.
Dragon Mites Attack
The twisting chimney maze is the perfect breeding grounds for dragon mites, voracious beetles from another plane. They hibernate in waiting for living creatures to enter the chimneys before descending on them and starting a feeding frenzy.
- Keep in mind that the party is fighting prone because they are crawling, unless they leave the chimney maze via a fireplace.
- For a 4th level party, it is recommended that there are a number of dragon mite swarms equal to half the number of players, rounded down (minimum 1).
- For lower level parties, consider using just 1 swarm of mites that will retreat when at half health. Higher level parties encounter more, or consider adding additional health to each swarm to scale the encounter.
The insects appear as large dust mites that glow faintly red with cracked lines of heat seeping through their carapace. They act as a swarm of insects (Basic Rules v1 p.45 or Monster Manual p.338) modified as follows.
- Add damage immunity: fire
- Add damage vulnerability: cold
"Dragon Mite" by Brett Neufeld
1st Floor Maze
2nd Floor
Arriving on the Second Floor
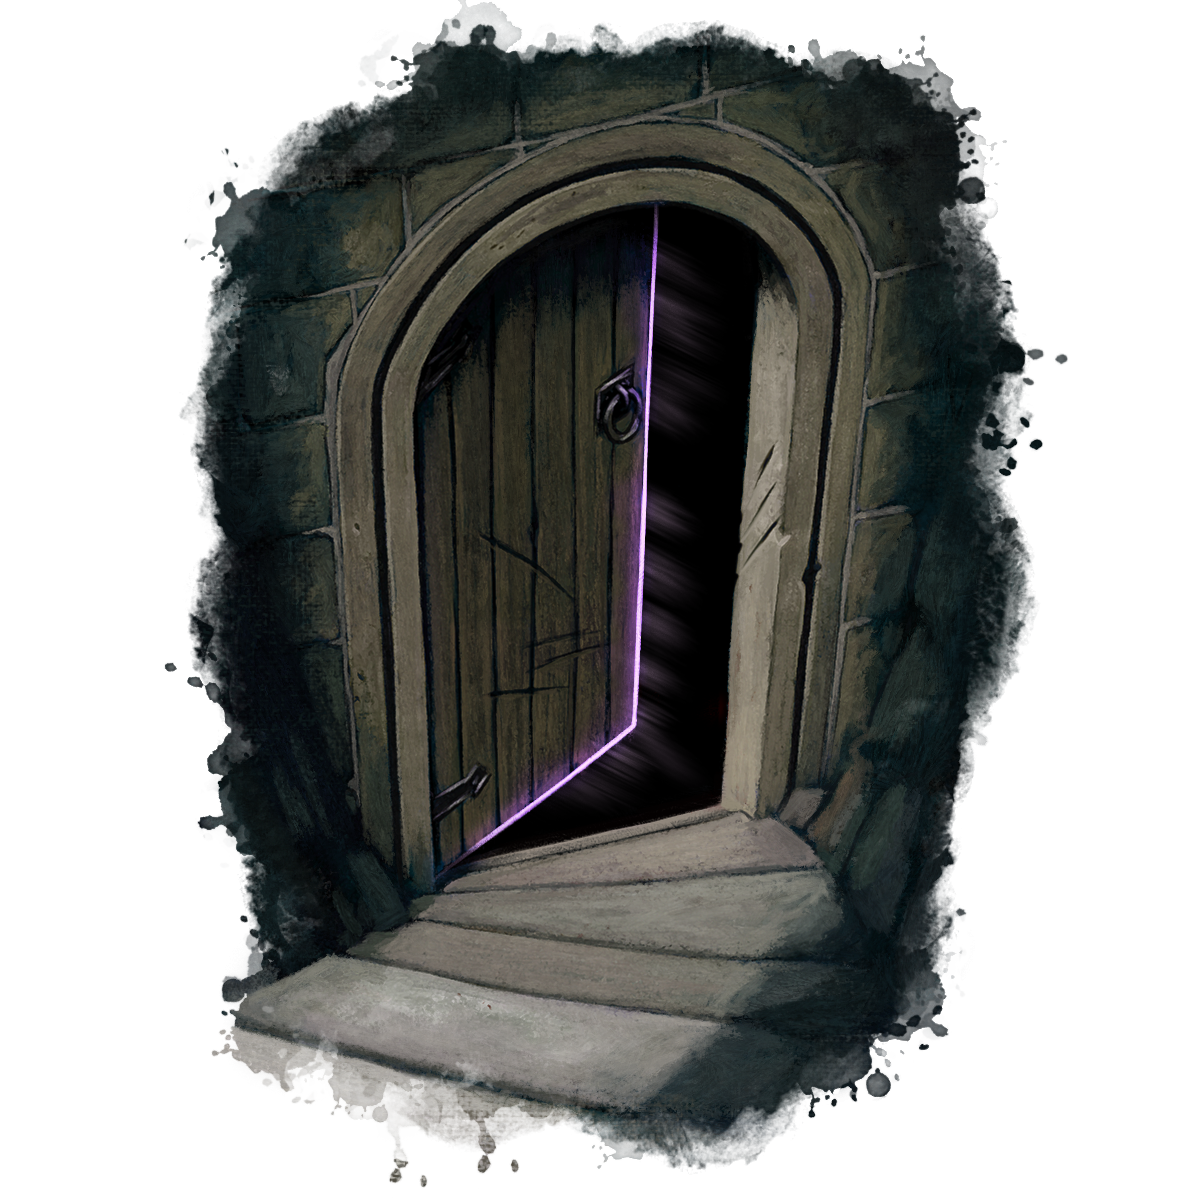
As the players move through the chimney maze they’ll eventually end up in a central room with a small staircase leading to the second floor. The wall at the top of the stairs has a metal handle and slides sideways to open door which is concealed as a wall from the outside.
On the second floor, dimensionally locked fires are more rampant. Most of the second floor contains bedrooms, bathrooms, larger formal rooms, and sleeping chambers. Most rooms here have multiple fireplaces and nearly all objects are covered in dimensionally locked fire, and are far further burned and destroyed.
The second floor fireplaces operate differently than those on the first floor due to the addition of a traveling flame.
- A DC 15 Perception check will clue the players to the fact that the fireplaces seem to light up with a burst of flame at set intervals, cycling through the house in a clockwise manner. It takes 5 minutes for the fire to complete one rotation through the house and return to the same fireplace.
- The fiery energy that exudes from this area is much stronger. All of the rooms are hotter, and the players may be stalked by the second floor encounter. Roll stealth checks for the encounter vs the players passive perception, as the second encounter will try to ambush the players.
- Any additional clues, hints, or other descriptive language used to guide the players through the second floor should have a more dire tone than those used on the first floor. Notes and books are harder to comprehend, and the arcane symbols while still functional are less finely crafted.
Stalked from Beyond the Flames
For a 4th level party a single Mimic (Monster Manual p.220) disguised as a wood stove and modified as below, and a number of Magmin (Monster Manual p.212) equal to half the number of party members rounded down with a minimum of one, will try to stalk and track the party. They will ambush them in a room with as much dimensionally locked fire as possible and use it for cover, or attack instantly if in danger of being discovered.
For lower level parties, reduce or remove the magmin as the mimic should be the primary encounter. Higher level parties could encounter more mimics and/or magmin as needed. The encounter should not be too difficult as there is still one trap and the final encounter to go, but should burn some player resources such as hit dice and spell slots.
The mimic has been twisted by the radiant ethereal fire energy and should be modified as follows:
- Replace damage immunity acid for damage immunity fire.
- Replace acid damage on the bite attack for fire damage.
- Add damage vulnerability: cold damage.
Into the Walls Again
Once the encounter has been dealt with, the players should be keyed into checking the fireplaces on this level as well. If they struggle, additional perception will note that the fire actually moves up the chimney when it leaves, a single ball of flame that snakes into a fireplace, rests there for a moment, and leaves the other side into the second level maze.
Because the fire moves in a clockwise manner through the second floor maze, the party will have 5 minutes from entering a fireplace where the fire just left before it will be at that location again. The fireball has a speed of 30 and will always move toward the outer walls before then moving to the next closest fireplace, only using the inner ring of walls to reach a fireplace and rest before going back the way it came to reach the outer ring.
The fire acts as a flaming sphere cast at 2nd level, with a spell save DC of 13 and an initiative of 20. Due to the cramped conditions, feel free to impose disadvantage on dexterity checks for half damage
Once again, the players should work their way to the central pillar of the house where a coal chute exists that will allow the players to slide down to the basement.
2nd Floor Maze
The Basement Laboratory
At the bottom of the coal chute, the players will encounter the laboratory of the Mad Mage. Glowing crystals of red, orange, and yellow give off a continual heat. The body of the mage is a skeleton that rests in a chair next to a desk. Scrawlings of infernal language are left on notes and scratched into the wood of the desk itself.
The comments themselves are simply mad ravings about “reading behind the lines”, or ultimate knowledge being on “the other side” (both references to the door hidden behind the bookcase). Other readable lines may just be references to fire, power, and general madness depending on how you’ve shaped the story so far.
An investigation check (DC 15) reveals a switch, lever, or flaming book of power that acts as the key to the bookcase, revealing a sturdy door covered in magical symbols. This door leads to the cavern and the final encounter of the adventure.
Escaping the Encounter
No encounter should be inescapable. The Mad Mage will not leave the cavern to chase the party into the lab. At the bottom of the coal chute, a lever exists on the wall to turn the chute into a steep stairwell for 5 minutes before reverting back to a steep slope.
The Cavern
The stone of the cavern is hot and seems almost ethereal itself, as it is technically trapped between two planes. It is solid and prevents movement, but is somewhat translucent while still blocking line of sight. Shifting shapes of creatures may be seen crawling through a maze inside the walls themselves, much like the players who were caught in a similar above. As the players move through the caverns they will approach the summoning circle, and the final encounter.
Encounter with the Mad Mage
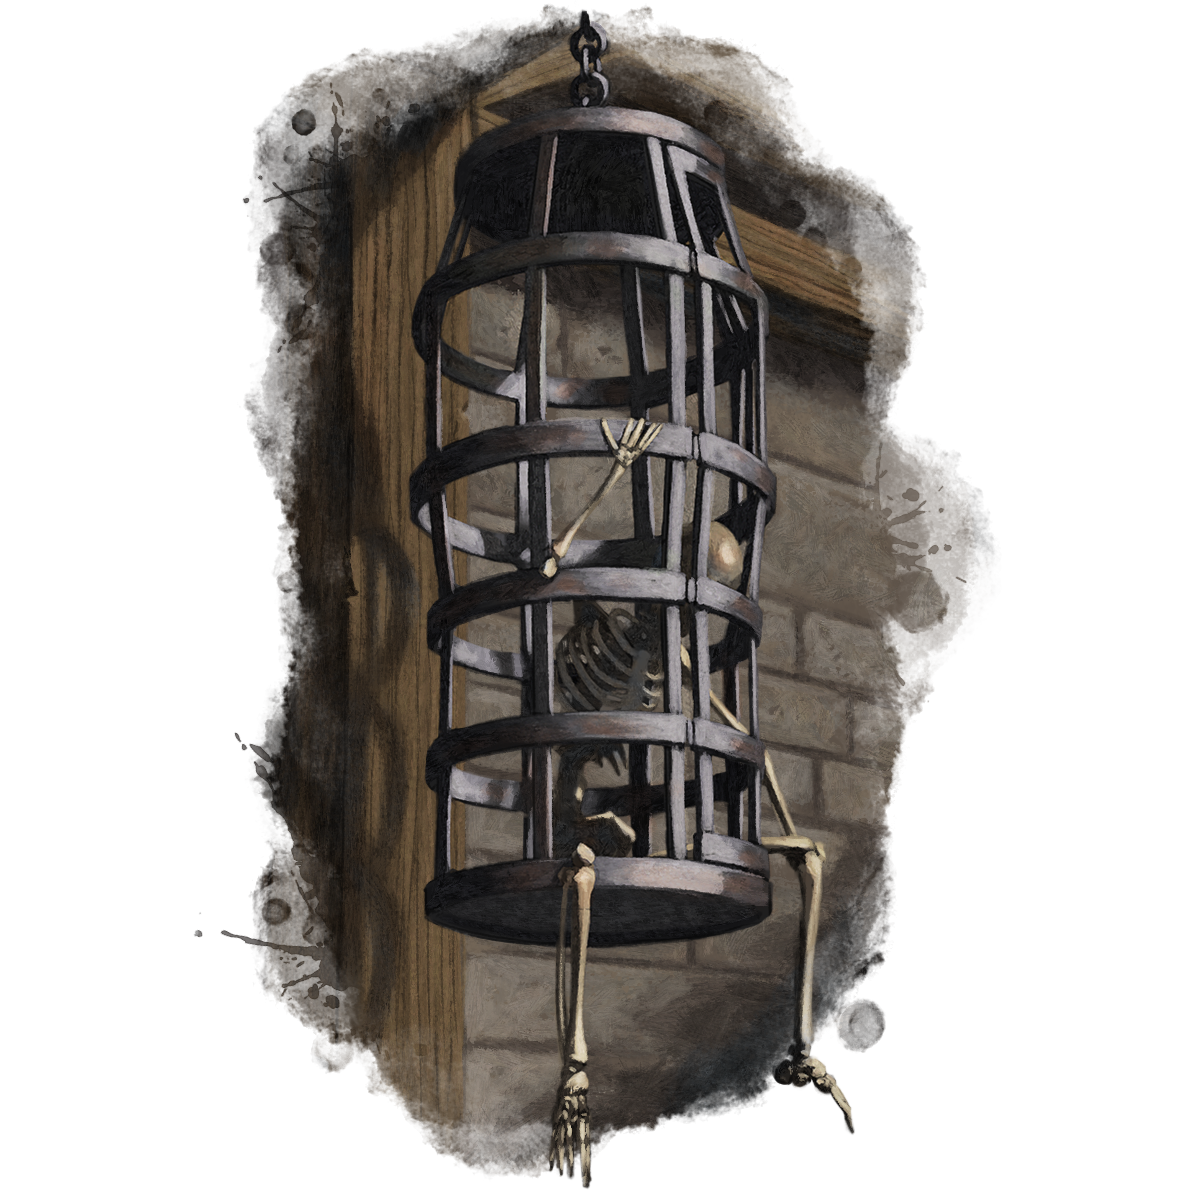
The Mad Mage patrols the central area of the cavern, a 70ft by 50ft oval of stone surrounded by cracked, heated rock. The island itself contains 6 iron cages with large locks on them. The cages will either be empty or filled with a skeleton. The number of open, empty cages will equal half the party members, rounded down (minimum 1 empty cage).
The ring of heated rock around the central island is considered difficult terrain, and any character starting or ending their turn on it will suffer 1d6 fire damage per turn.
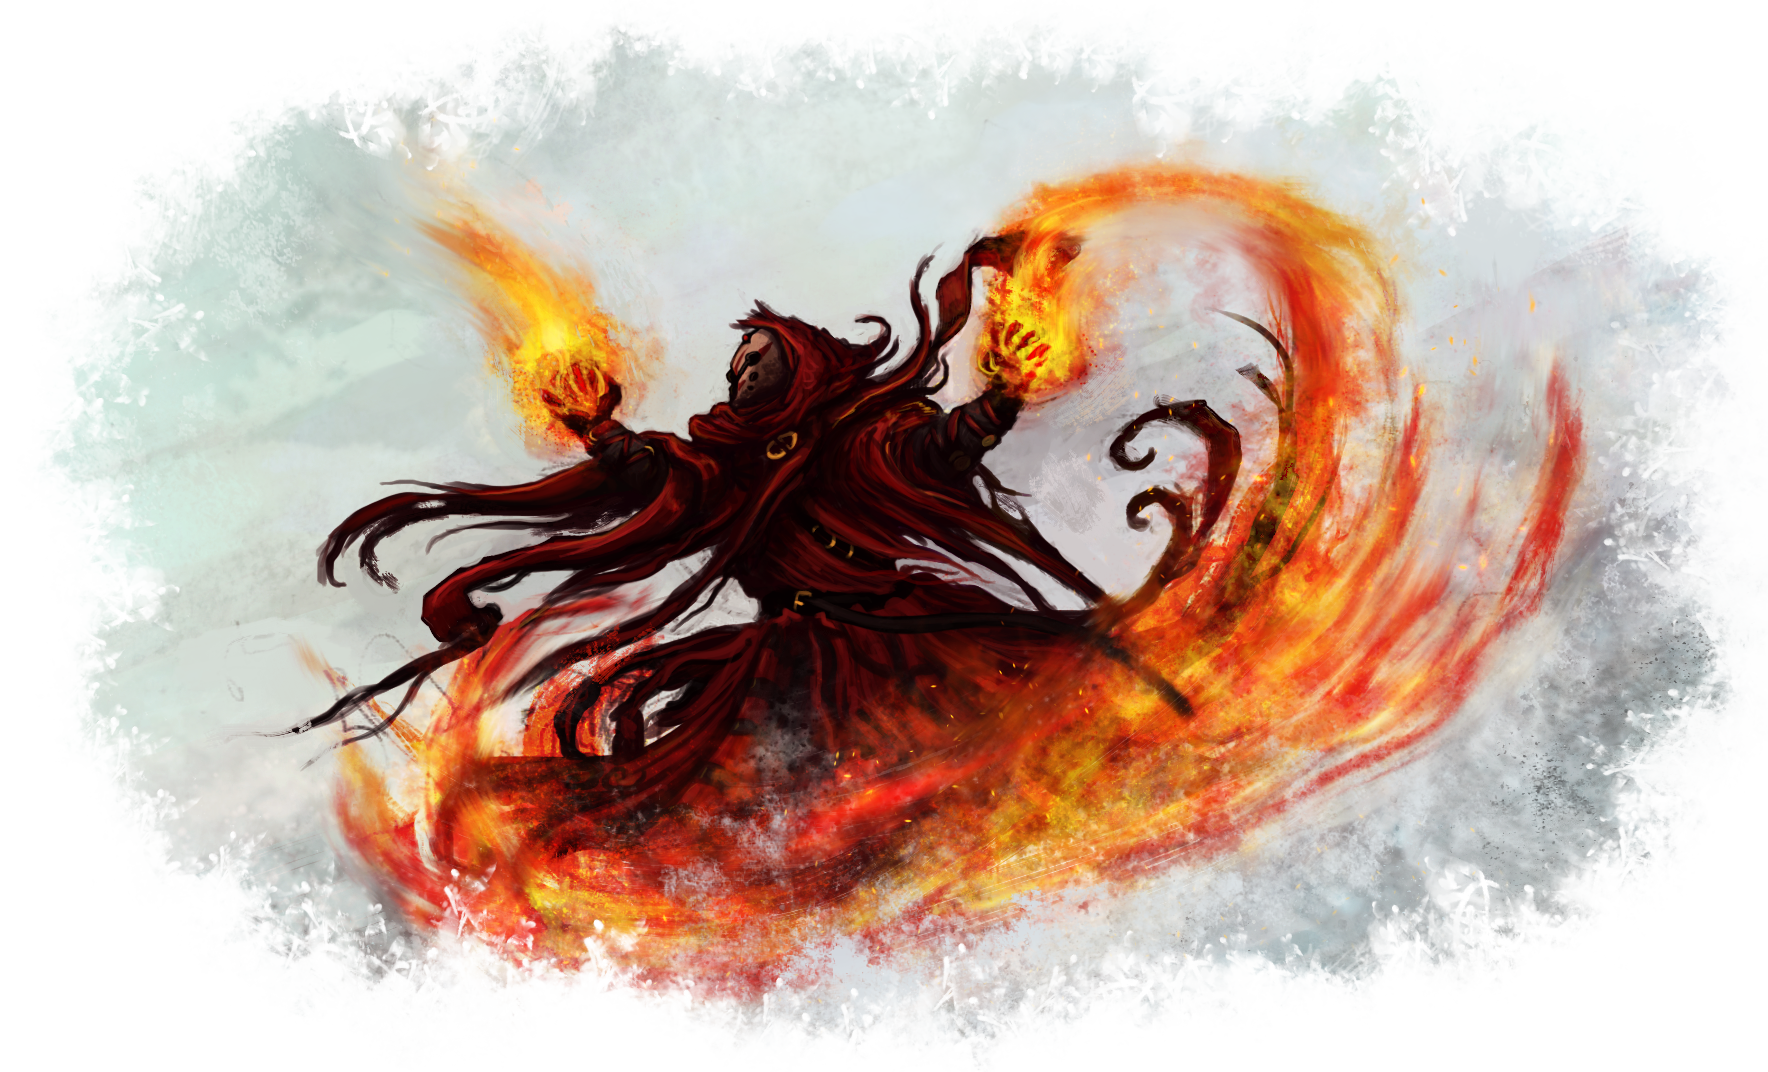
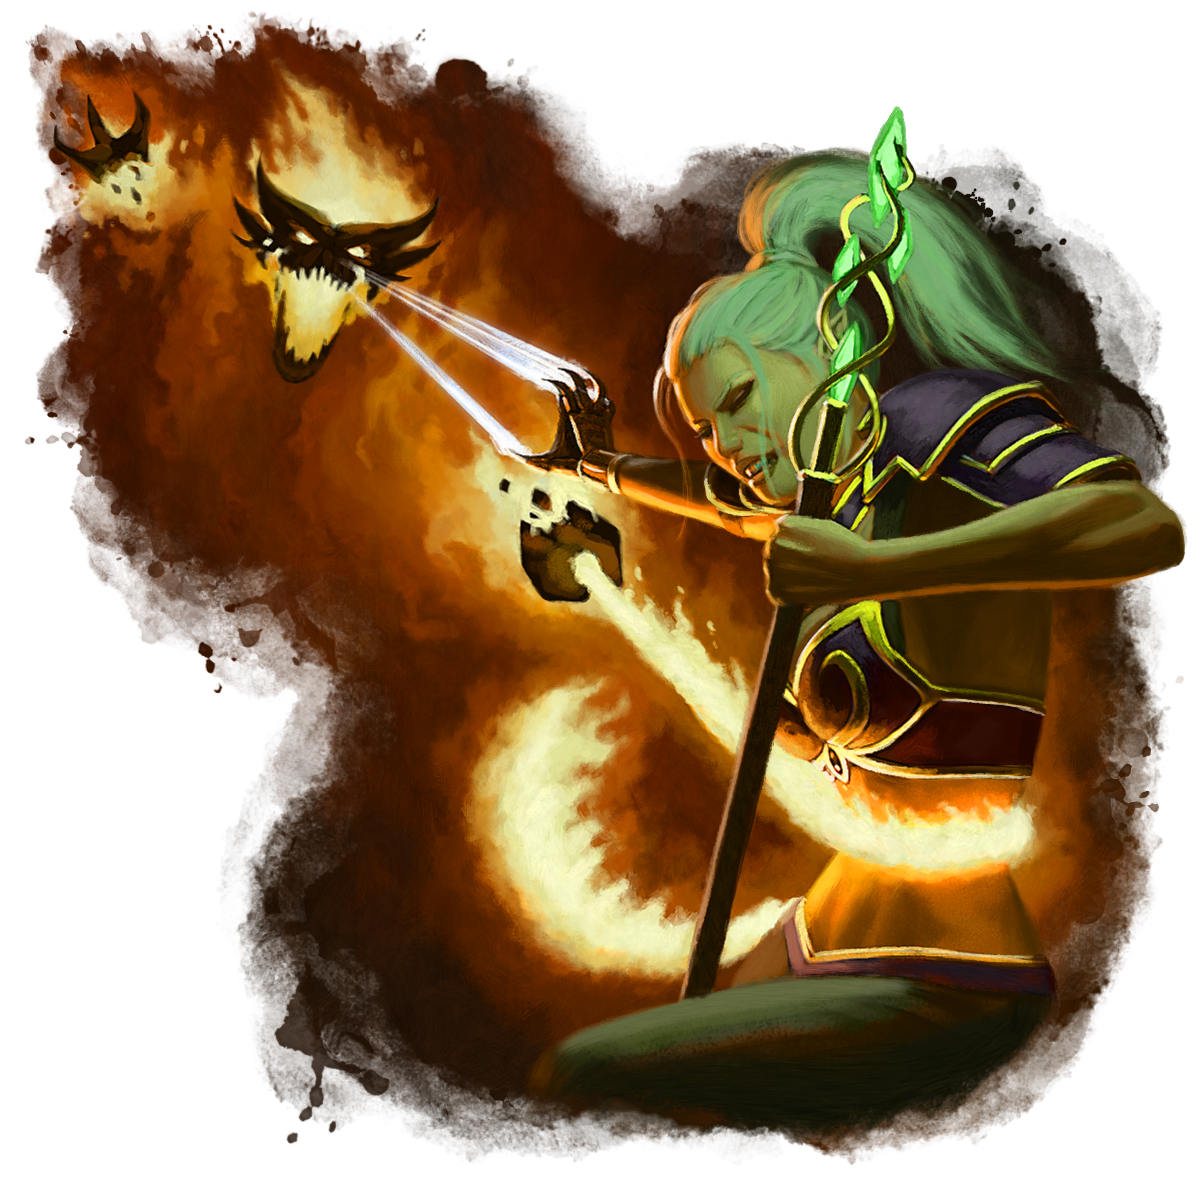
The Mad Mage
The Mad Mage will attack the party as soon as it notices them (Darkvision 60ft, Passive perception 11). The Mad Mage is actually two creatures in one. Visually, the Mad Mage is a suit of Animated Armor (Basic Rules v1 p.9, Monster Manual p.19), that is animated by a Ghost (Basic Rules v1 p.22 Monster Manual p.147) modified as below. For lower level parties, consider using a ghast instead of a ghost to animate the armor.
- Both the animated armor and the ghost will have immunity to fire and vulnerability to cold damage. The ghost will no longer be immune to cold damage.
- If turn undead is used against the armor, the ghost will be forced out and immediately affected by the turning (use the ghost’s stats for determining how turn undead functions against it). The armor itself cannot be turned or destroyed using turn undead.
- Any time the ghost enters the animated armor, it’s possession ability recharges at the start of its next turn so long as it remained in the armor, wasn't turned, and the armor was not destroyed.
How the Mad Mage Fights
The Mad Mage will use the armor defensively, but may leave the armor (using the ghosts etherealness) to attempt to possess a party member. When the ghost is not possessing the armor, the armor will drop to the ground prone. The ghost may possess the armor as long as the animated armor has hit points remaining without requiring the use of its possession ability.
If the ghost possesses a party member, it will attempt to lock them in an open cage before ending the possession and returning to the armor to recharge it’s possession ability. The possessed character will drop any weapons or items they were wielding and use the dash action to attempt to reach a cage. Once inside, they must spend an action to close the door and lock themselves inside.
If all cages have been filled with skeletons or party members, the Mad Mage will continue fighting any remaining party members. If all the cages are full and all other party members are unconscious or dead, the Mad Mage will move to the center of the circle and chant in infernal about offering the souls of the living to complete it’s ritual. The Mad Mage will not attack caged characters as they must die of dehydration to be accepted as offerings. This gives them a chance to break the corroded locks (DC15 dexterity check with thieves tools or DC 15 strength check to break) or take other actions.
The Mad Mage will use its lair actions to prevent players from releasing party members trapped in cages, or to generally weaken the party in combat.
Lair Actions
On an initiative count of 20 (losing initiative ties) the Mad Mage may take a lair action to cause one of the following effects; the Mad Mage can't use the same effect two rounds in a row.
- Fire erupts from a point on the ground the Mad Mage can see within 60 feet of it, creating a 15-foot-high, 5-foot-radius geyser. Each creature in the geyser’s area must make a DC 13 Dexterity saving throw, taking 7 (2d6) fire damage on a failed save, or half as much damage on a successful one.
- One creature must succeed a DC 12 wisdom saving throw or have visions of a fiery realm cloud their vision, causing blindness until the end of their next turn.
- An opaque wall of stone forms on a solid surface. The wall can be up to 30 feet long, 30 feet high, and 1 foot thick. When the wall appears, each creature within its area is pushed 5 feet out of the wall’s space, appearing on whichever side of the wall it wants. Each 10-foot section of the wall has AC 5, 30 hit points, vulnerability to fire damage, and immunity to acid, cold, necrotic, poison, and psychic damage. The wall disappears when dismissed.
- Volcanic gases form a cloud in a 10-foot-radius sphere centered on a point the Mad Mage can see within 60 feet of it. The sphere spreads around corners, and its area is lightly obscured. It lasts until initiative count 20 on the next round. Each creature that starts its turn in the cloud must succeed on a DC 11 Constitution saving throw or be poisoned until the end of its turn. While poisoned in this way, a creature is incapacitated.
Epilogue
When the Mad Mage is defeated, the below effects happen immediately.
- All regional effects begin to fade.
- The crystals in the cavern become quartz that faintly glow with a subtle white light.
- All difficult terrain is removed from the basement as the ground becomes simple stone once more.
- All magical flames inside the house extinguish, though the furniture is still burned.
- On the second floor, the traveling flaming sphere vanishes.
- Any remaining creatures from escaped encounters are banished back to their home plane.
- The arcane symbols of the ritual portal change. No longer glowing red, the area is now a teleportation circle. This teleportation circle is permanently linked to the space on the first floor in front of the primary fireplace in the center of the main hall between the staircases. This can be used to escape the mansion by interacting with the circle to return to the first floor (no material cost). Depending on your party’s makeup, you may have any character standing on or near the circle be teleported to the main floor instantly once the Mad Mage is defeated, and then teleported back to the basement several seconds later if they don't leave the circle on the first floor.
- Investigating the remains of the Animated Armor reveals a sturdy cast-iron skillet in the center mass of the armor. The cooking surface of the skillet has faintly glowing red runes, and is actually the magical Blazing Skillet.
Blazing Skillet
Weapon (Mace), rare, requires attunement
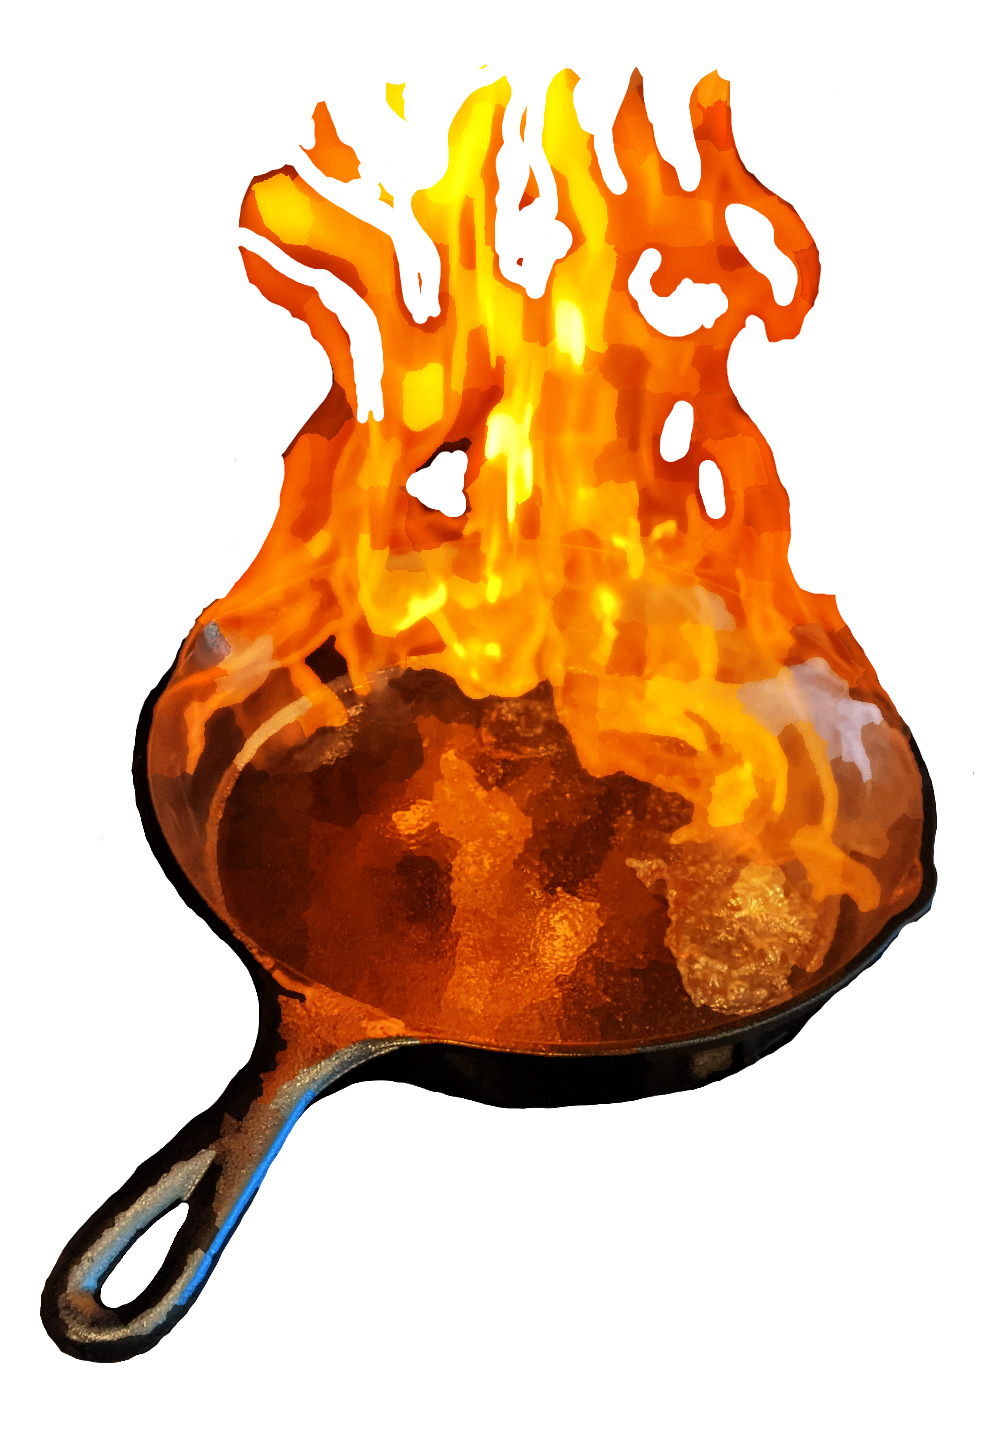
A cast-iron skillet covered in arcane runes. It's glossy surface is always perfectly oiled. The bottom of the pan bears the maker's mark: a fork inside of a ball of fire.
You gain a +1 bonus to attack and damage rolls made with this magic weapon.
You can use a bonus action to speak the mace's command word, causing flames to engulf the pan. These flames shed bright light in a 30-foot radius and dim light for an additional 30 feet. While the mace is ablaze, it deals an extra 1d6 fire damage to any target it hits. The flames last until you use a bonus action to speak the command word again or until you drop or sheathe the mace.
In addition, while attuned to the skillet, you may cast Create Food and Water as an action without expending a spell slot. The skillet cannot be used this way again until you complete a long rest.
Proficiency with a mace allows you to add your proficiency bonus to the attack roll for any attack you make with it.
Basement
1st Floor (Gridless)
1st Floor Maze (Gridless)
2nd Floor (Gridless)
2nd Floor Maze (Gridless)
Basement (Gridless)
Mansion
of the
Mad Mage
Driven mad through their attempts to control a power beyond their plane, one mage loses the fight to contain the threats they’ve uncovered. What’s left is a mansion cursed by flames barely contained by the labyrinth of walls within.
Who is the Mad Mage? Where does the house preside? You control the adventure with flexible notes, locations, and tips for running it at various levels. Custom maps, magic skillets, and twisted encounters await your party in this 4th level dungeon module.
We truly hope you’ve enjoyed this adventure. We met on a whim on Twitter and this all started as a joke because of a mistake made while drawing a map. What blossomed from that joke was an intense collaboration and a new friendship.
Dungeons and Dinners is a podcast about the love of tabletop RPGs with a culinary twist. On all podcast platforms, captivate, and patreon.
Maps ‘N’ Quests is the self-proclaimed “World’s Okayest Purveyor of D&D and TTRPG Combat and Encounter Maps." You can support him on patreon.
Additional Credits
Everyone in the #TTRPGSolidarity community
Our supportive families
Our listeners and patrons
And YOU, for checking out this adventure!
Artist Credits
All artwork used has been appropriately licensed. Credits in order of appearance:
The Darkened House - CulhainGAMES
Red Wizard - J.H. Illustrations
Dragon Mite - Brett Neufeld
Filler spot colour - spell: knock - RPG Stock Art - Dean Spencer Art
Filler spot colour - event: mage vs fire elemental - RPG Stock Art - Dean Spencer Art
Filler spot colour - environment: hanging cage - RPG Stock Art - Dean Spencer Art
All Maps - Maps 'N' Quests
Blazing Skillet - DungeonsAndDinners
Wizards of the Coast, Dungeons & Dragons, and their logos are trademarks of Wizards of the Coast LLC in the United States and other countries. © 2021 Wizards. All Rights Reserved. This document is completely unofficial and is not affiliated with, endorsed, sponsored, or specifically approved by Wizards of the Coast LLC. This document may use the trademarks and other intellectual property of Wizards of the Coast LLC, which is permitted under Wizards' Fan Site Policy. For example, Dungeons & Dragons® is a trademark of Wizards of the Coast. For more information about Wizards of the Coast or any of Wizards' trademarks or other intellectual property, please visit their website.