GM Binder Styling Reference
Introduction
Preface
I wrote this guide to provide some advanced formatting tips and tricks to those who want or need to get that extra little bit of fanciness and functionality into their documents. This document assumes you are familiar with the general ins-and-outs of using GM Binder, in addition to the content covered in Rhaenon's GM Binder Styling Reference. If you're not, then that's still ok! There may be terms or content covered that you're unfamiliar with, but don't fret - practice some things and you'll get there!
It may also help if you have a reasonable understanding of HTML and CSS (as these languages are used throughout this document).
Contents
Credits
Written by Raspilicious.
Special thanks to Rhaenon, CobaltZephyr, Iveld, metaBot and SwordMeow for helping work on and create the original GM Binder Styling Reference.
Theme: Discord of Many Things & /r/UnearthedArcana Theme by Eiti3.
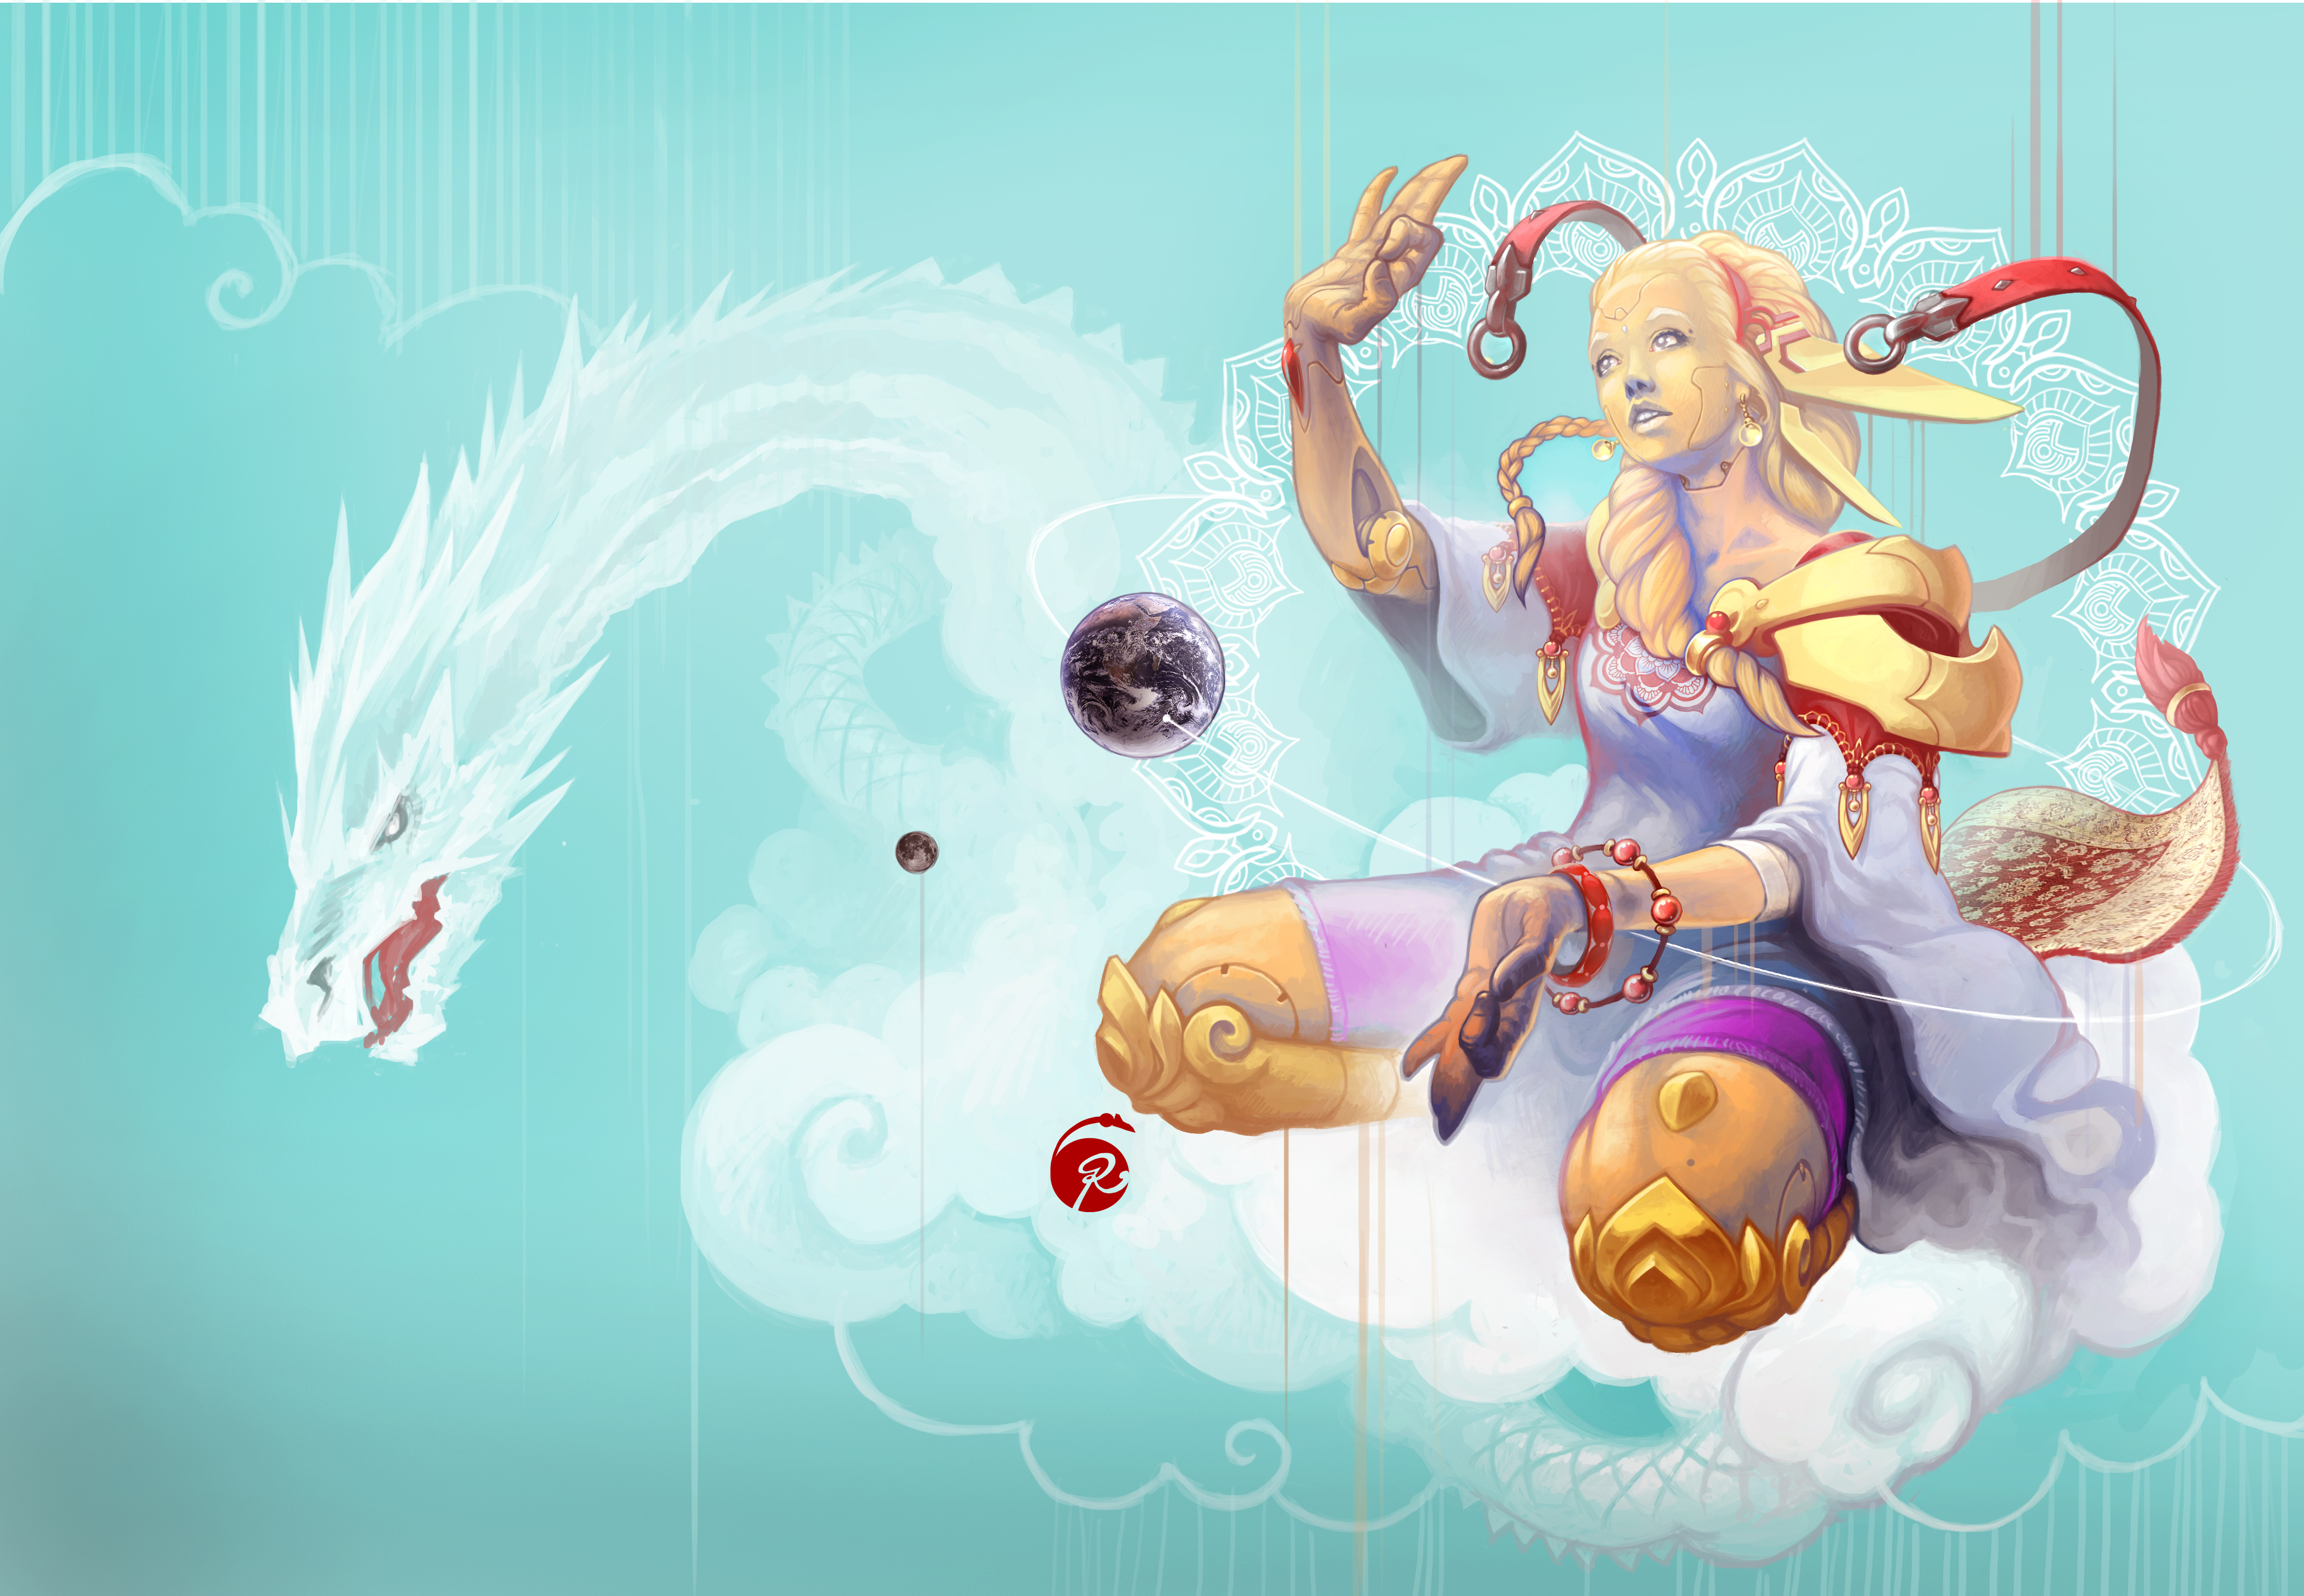
Cover art: Thest by TomPrante.
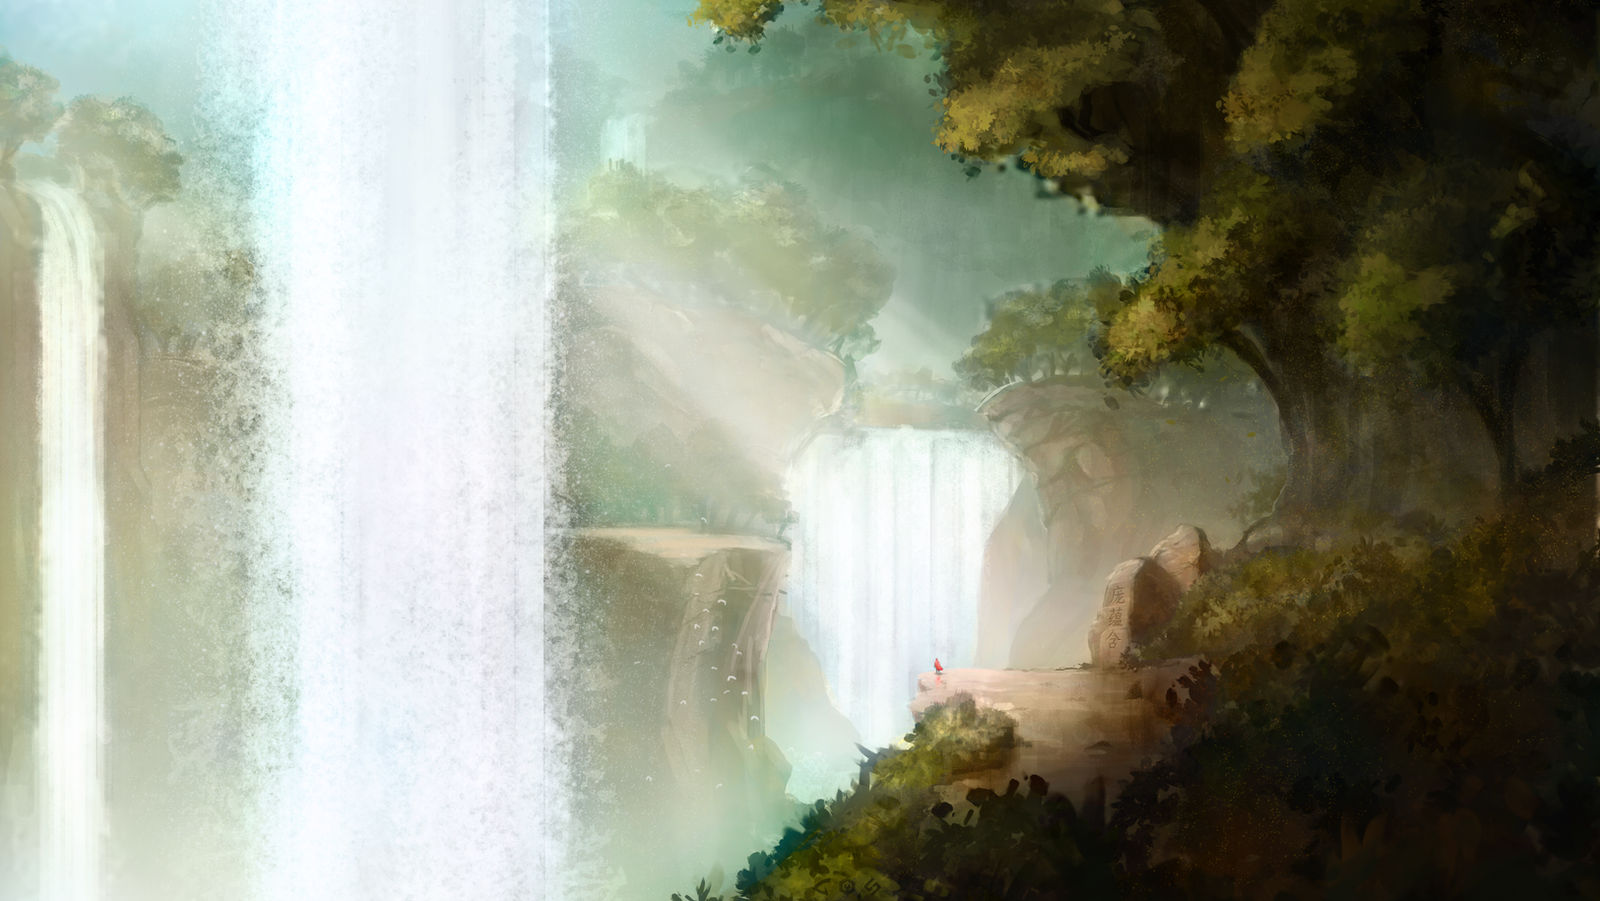
Page 7 art: White dragon_2014 by Markus-Art-Design.
Back cover art: Reflections by Markus-Art-Design.
Let's Get ~Fancy~
You'll find a variety of code snippets here. You can use most of them between two <style> tags - usually placed at the start or end of your document - and some in your document's body text.
If you are using them in your document's style tags, try not to spread them throughout your document unless you need to; you may have a hard time trying to work out why your style is not working only to find that you've redefined it somewhere else in your document. The latest <style> tag always overwrites previous ones, so even if you've placed it at the end of your document, your entire document will follow that style.
Back Buttons
You can add functionality to your documents by using the href and id tags. A href is a kind of hyperlink that jumps the user's page to the specified id tag when it is clicked on. It's a similar concept to a Bookmark in a PDF. We can use this functionality to allow users to navigate around documents quickly and with but a few clicks.
A back button will allow users to jump backwards one step in their web browser's history. It works great in most web browsers, but unfortunately not in a PDF, because PDFs don't track navigation history.
Use this snippet to create a back button:
<a href="#" onclick="history.back()">Back</a>
To get even more fancy, you can assign this to a particular class in your <style> - then whenever you use it throughout your document, every instance of that style will be a back button! Pop this in your <style> to see it in action:
<a class="MyClass" href="#" onclick="history.back()"></a>
Custom Fonts
If you want to add extra fanciness to your documents in the form of fonts, you can use Google Fonts to do so. Put this in your <style>, filling in the font that you want.
@import url('https://fonts.googleapis.com/css?family=Montserrat');
Now, you can use Google fonts by adding the following to your .phb, .h1, .footnote etc. tags:
font-family: 'Montserrat', sans-serif;
If you want to use a font that isn't on Google Fonts, this guide by Tsuramah covers it very well. Check it out!
Fancy Page Numbers
Sometimes, you may want to get fancy with your page numbers. You can center your page number with this snippet:
.phb .pageNumber {
    position   : center;
    left       : 0px;
    right      : 0px;
    bottom     : 1em;
    width      : 100%;
    text-align : center;
}
...and add content before or after it using this snippet:
.phb .pageNumber:before {
    content : "✦ ";
}

.phb .pageNumber:after {
    content : " ✦";
}
You can also use this snippet to center text in general:
<div class='wide' style="text-align: center" id="top">
Fancy Table Colours
Tables can be formatted in many fancy ways. When you use HTML to make a table you can easily change its colour - even for multiple tables on the same page or multiple cells in the same table.
Default Markdown Table
| d8 | Loot |
|---|---|
| 1 | 100gp |
| 2 | 200gp |
| 3 | 300gp |
| 4 | 400gp |
| 5 | 500gp |
| 6 | 600gp |
| 7 | 700gp |
| 8 | 1000gp |
The table above uses the format you would probably be most familiar with when using GM Binder: markdown (a text formatting language). Markdown tables use colours specified by your document's theme, or colours from Part 1 of the Player's Handbook if you don't specify a theme at all.
PHB-Coloured HTML Table
| d8 | Loot |
|---|---|
| 1 | 100gp |
| 2 | 200gp |
| 3 | 300gp |
| 4 | 400gp |
| 5 | 500gp |
| 6 | 600gp |
| 7 | 700gp |
| 8 | 1000gp |
The table above is constructed using HTML and is styled to use the same colours as you'd see in Part 1 of the Player's Handbook. You can check out the code in the page source, but if you'd like some more information on how to format a table using HTML (such as what <tr>, <th> and <td> are and how to use them), I recommend checking out the HTML Tables page on w3schools.com. W3schools is a website and superb reference and resource for learning HTML and CSS.
The tables on the right are simply additional examples of what you can do with HTML tables.
Forgive me for going up to d14 on the Rainbow HTML Table; I felt I had to use all the colours from the ROYGBIV spectrum! Just pretend that you are rolling 2d4 + 1d6 for your treasure. :P
More Coloured HTML Tables
| d8 | Loot |
|---|---|
| 1 | 100gp |
| 2 | 200gp |
| 3 | 300gp |
| 4 | 400gp |
| 5 | 500gp |
| 6 | 600gp |
| 7 | 700gp |
| 8 | 1000gp |
| d8 | Loot |
|---|---|
| 1 | 100gp |
| 2 | 200gp |
| 3 | 300gp |
| 4 | 400gp |
| 5 | 500gp |
| 6 | 600gp |
| 7 | 700gp |
| 8 | 1000gp |
| d8 | Loot |
|---|---|
| 1 | 100gp |
| 2 | 200gp |
| 3 | 300gp |
| 4 | 400gp |
| 5 | 500gp |
| 6 | 600gp |
| 7 | 700gp |
| 8 | 1000gp |
Rainbow HTML Table
| d14 | Loot |
|---|---|
| 1 | 100gp |
| 2 | 200gp |
| 3 | 300gp |
| 4 | 400gp |
| 5 | 500gp |
| 6 | 600gp |
| 7 | 700gp |
| 8 | 1,000gp |
| 9 | 2,000gp |
| 10 | 3,500gp |
| 11 | 6,000gp |
| 12 | 10,000gp |
| 13 | 15,000gp |
| 14 | 30,000gp |
Fancy Table Content
Tables can be used for more than just standard text. Try out putting a class in a table's cell to see what happens!
I have used <div class="descriptive"> in some cells of the following table, but as you can see the cells don't have an equal width. This is because there is much more text in the left column than the right, so GM Binder averages it out over the two columns. Normally this is fine, and we could leave it as so...
DC 12 Wisdom (Perception) Check
| Success | Failure |
DM: You spot leaves and a rope lying on the path ahead. Stopping the convoy, you tell them this is a snare trap. There is a loop of rope on the ground leading to a weighted log that hangs on the lowermost branch of a tree just off the path. |
DM: You feel a snap underfoot and the ground beneath your feet start to shift. Quick - roll a Dexterity saving throw! |
...but let's see what it looks like if we make the two columns equal in width.
DC 12 Wisdom (Perception) Check
| Success | Failure |
DM: You spot leaves and a rope lying on the path ahead. Stopping the convoy, you tell them this is a snare trap. There is a loop of rope on the ground leading to a weighted log that hangs on the lowermost branch of a tree just off the path. |
DM: You feel a snap underfoot and the ground beneath your feet start to shift. Quick - roll a Dexterity saving throw! |
The second table above is defined using HTML. I've done this to show that a) you can do it, and b) that you can add extra fanciness in tables by doing so (such as in this particular example where I have set the column's width).
This looks neat in some ways, but that depends on your document. If you have many tables in your document that use two cells like the one above, it may be very useful to be able to make their width equal on each side; at the least, it will be easier to skim down and quicky find something you're looking for if you have a whole column of them.
Links to Sections
Add an id tag to a heading (or word, or anything, really) to allow you to jump to it with a single click from another element.
<h3 id="items">Items</h3>
Once you have specified an id, you can do this:
<a href=#items>Click to go to Items!</a>
You don't have to use exactly the same #tag as what is written in the heading, but it will make it easier for readers (and yourself) to understand what is happening if you keep them similar. Using #tag7 to go to a heading called "Armies" is just lazy. Don't be lazy!
It's a good idea if you're using tags to have
id="top"at the start of your document andid="contents"on your contents page to quickly get around if you need to.
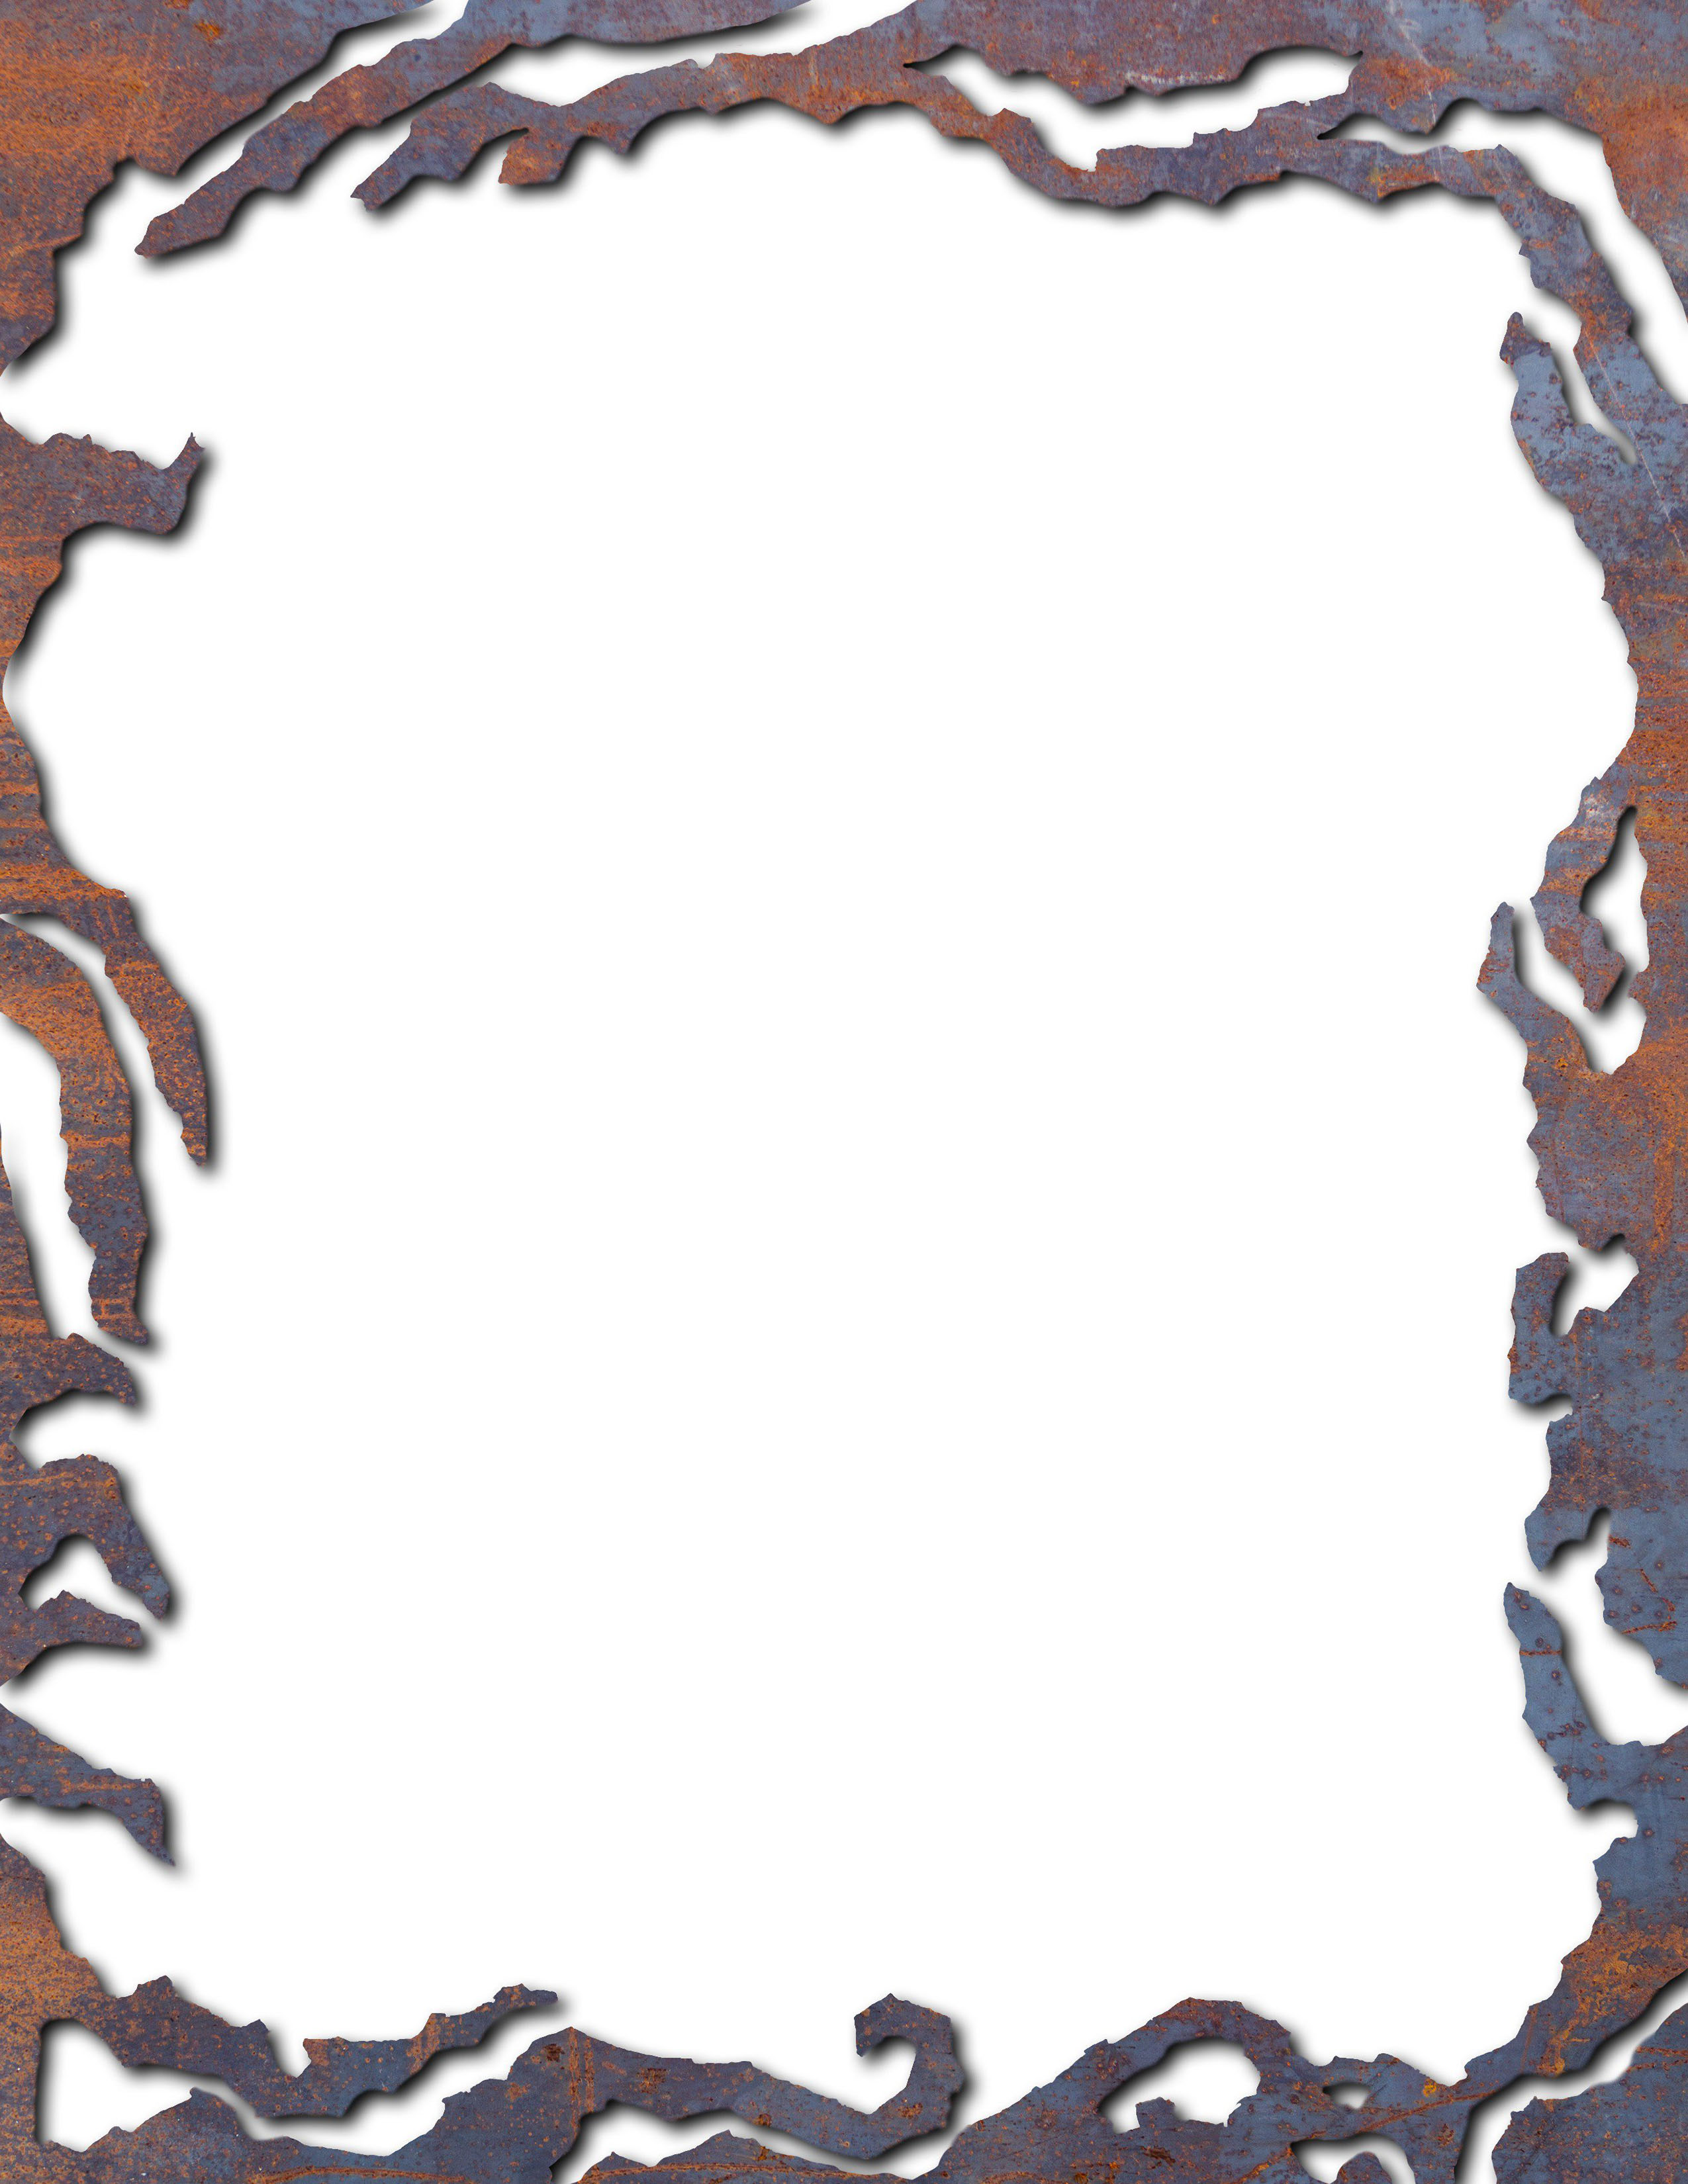
Scale Images to Fit on the Page
You can make an image (such as the border art on this page) fill a page to its exact size. We can use this code to do so:
<img src="https://www.gmbinder.com/images/QHtLOiG.jpg" style="position:absolute; bottom:0px; right:0px; width:100%; height:100%; mix-blend-mode:multiply" />
The code above anchors an image to the bottom-right of the page and sets its width and height to 100% of the page. It also uses mix-blend-mode:multiply to blend the image with the page background so that it becomes textured and looks like it is part of the page. Without it, the image seems to float above the page.
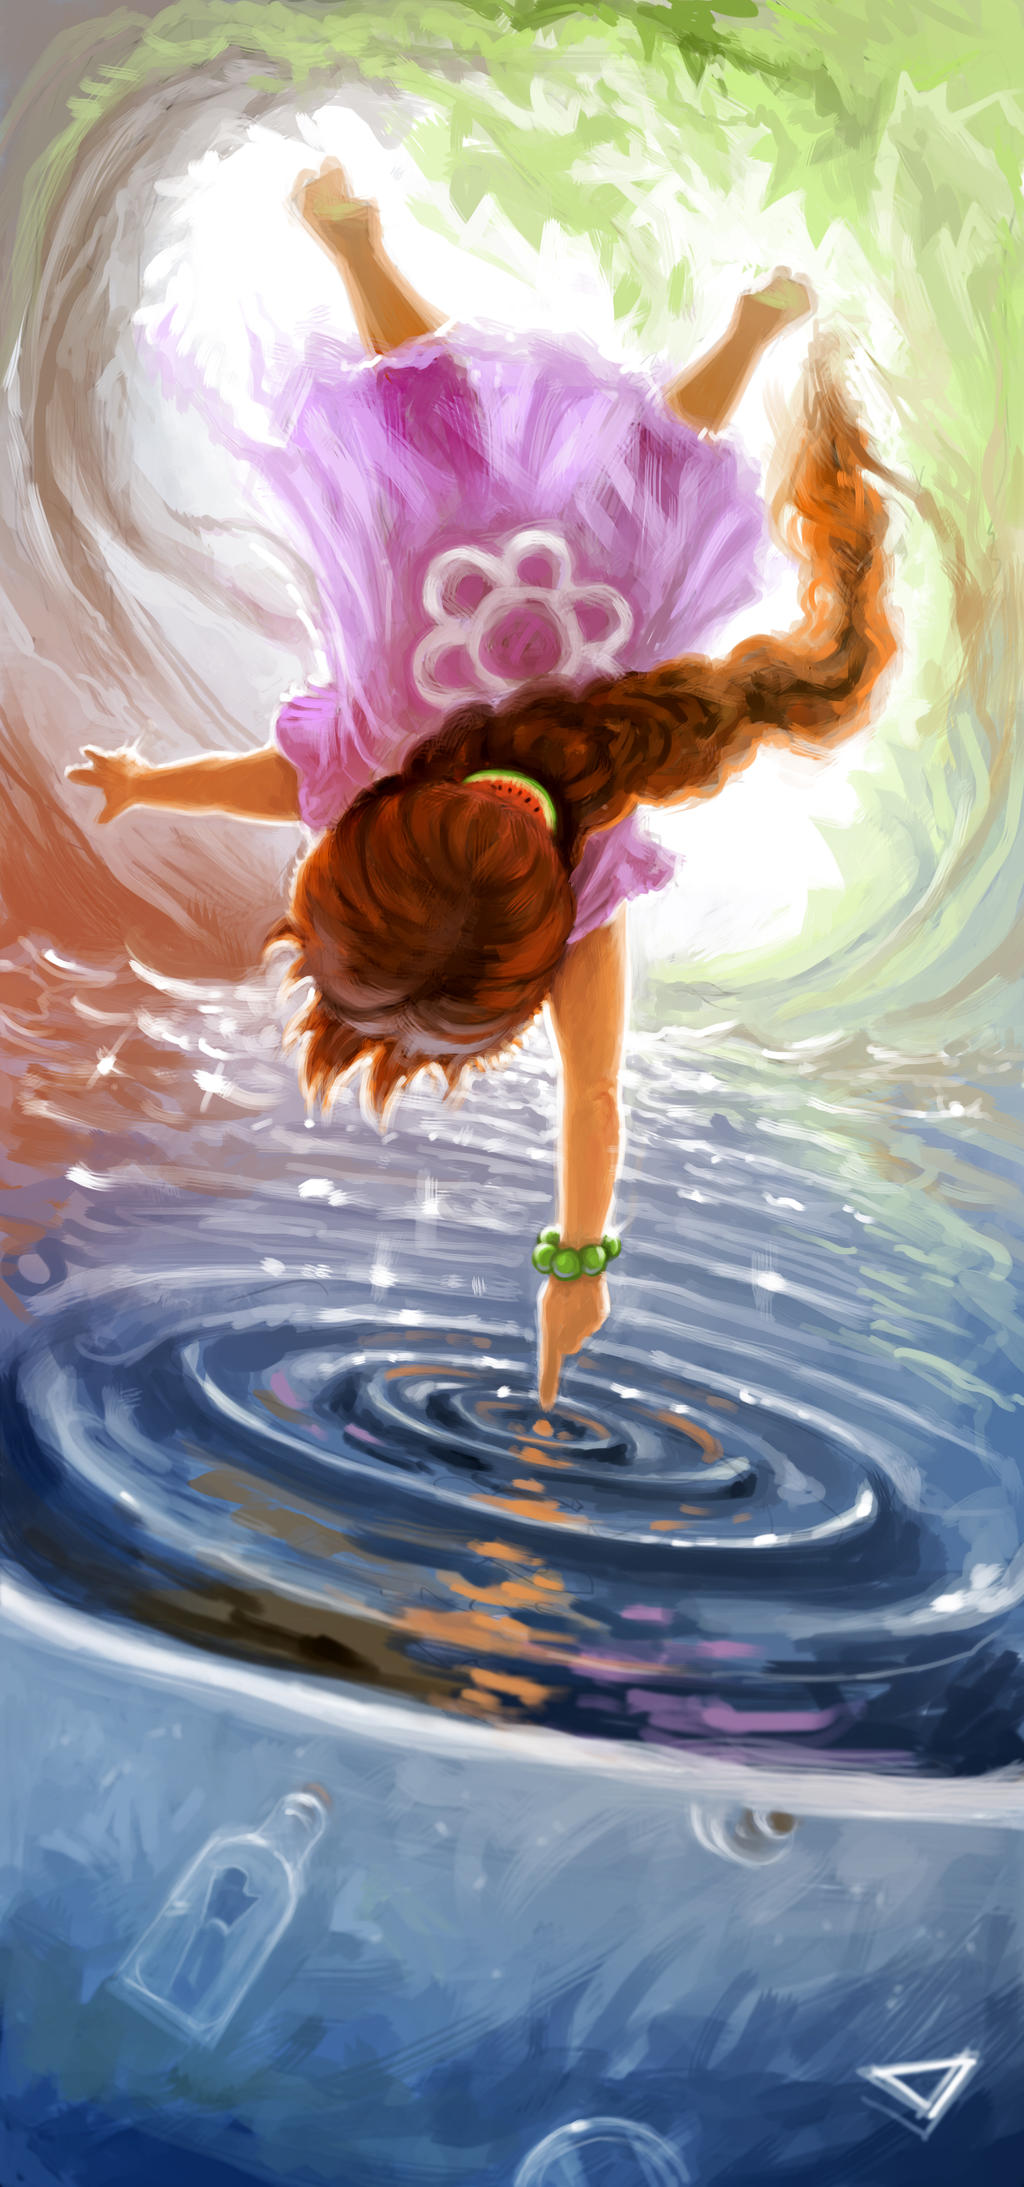
Scale Images to Hang off the Page
The image on this page is much larger than the page and if we fill it to exactly the right size, it will appear squished. In this case, we want the character to fill the majority of the page but don't mind if the rest of the image hangs off the page. Using the code at the bottom of this box, we do the following things:
- We force the image to 'stick' to a position on the page by using
position:absolute(as opposed toposition:relative, which allows it to move along with other objects on the page). - We use
bottom:0pxto position the bottom of the image at the bottom of the page andright:-210pxto move the image to the left, resulting in our character being positioned near the middle of the page. - We scale the image up to fill the page height by using
height:100%. The left and right edges of the image now 'hang' off the edges of the page, but that's fine because in this case we only care about the character on the image. - Lastly, we apply
mix-blend-mode: multiplyto the image so it looks like it's part of the page.
Here's the code to achieve this:
<img src='Your Source Here' style='position:absolute; bottom:0px; right:-210px; height:110%; mix-blend-mode:multiply'/>
Make your
documents
~ fancy ~
People love to see beautiful documents, but beautiful documents with extra fanciness and functionality? What a great idea.
Use this document to help you imbue some HTML and CSS magic into your documents, and you may even find out by the end of it that you've learned some programming. Huzzah!
When you're ready to share with the community, don't forget to mark your document as public so people can find it in the GM Binder Search